As you can imagine, the library goes through a great number of crayons. Recently we gathered all the broken ones and brainstormed our options. One brave soul (myself) volunteered to use silicone molds to melt them into “new” crayons to be used again.
Read on to vicariously refresh these crayons with me!
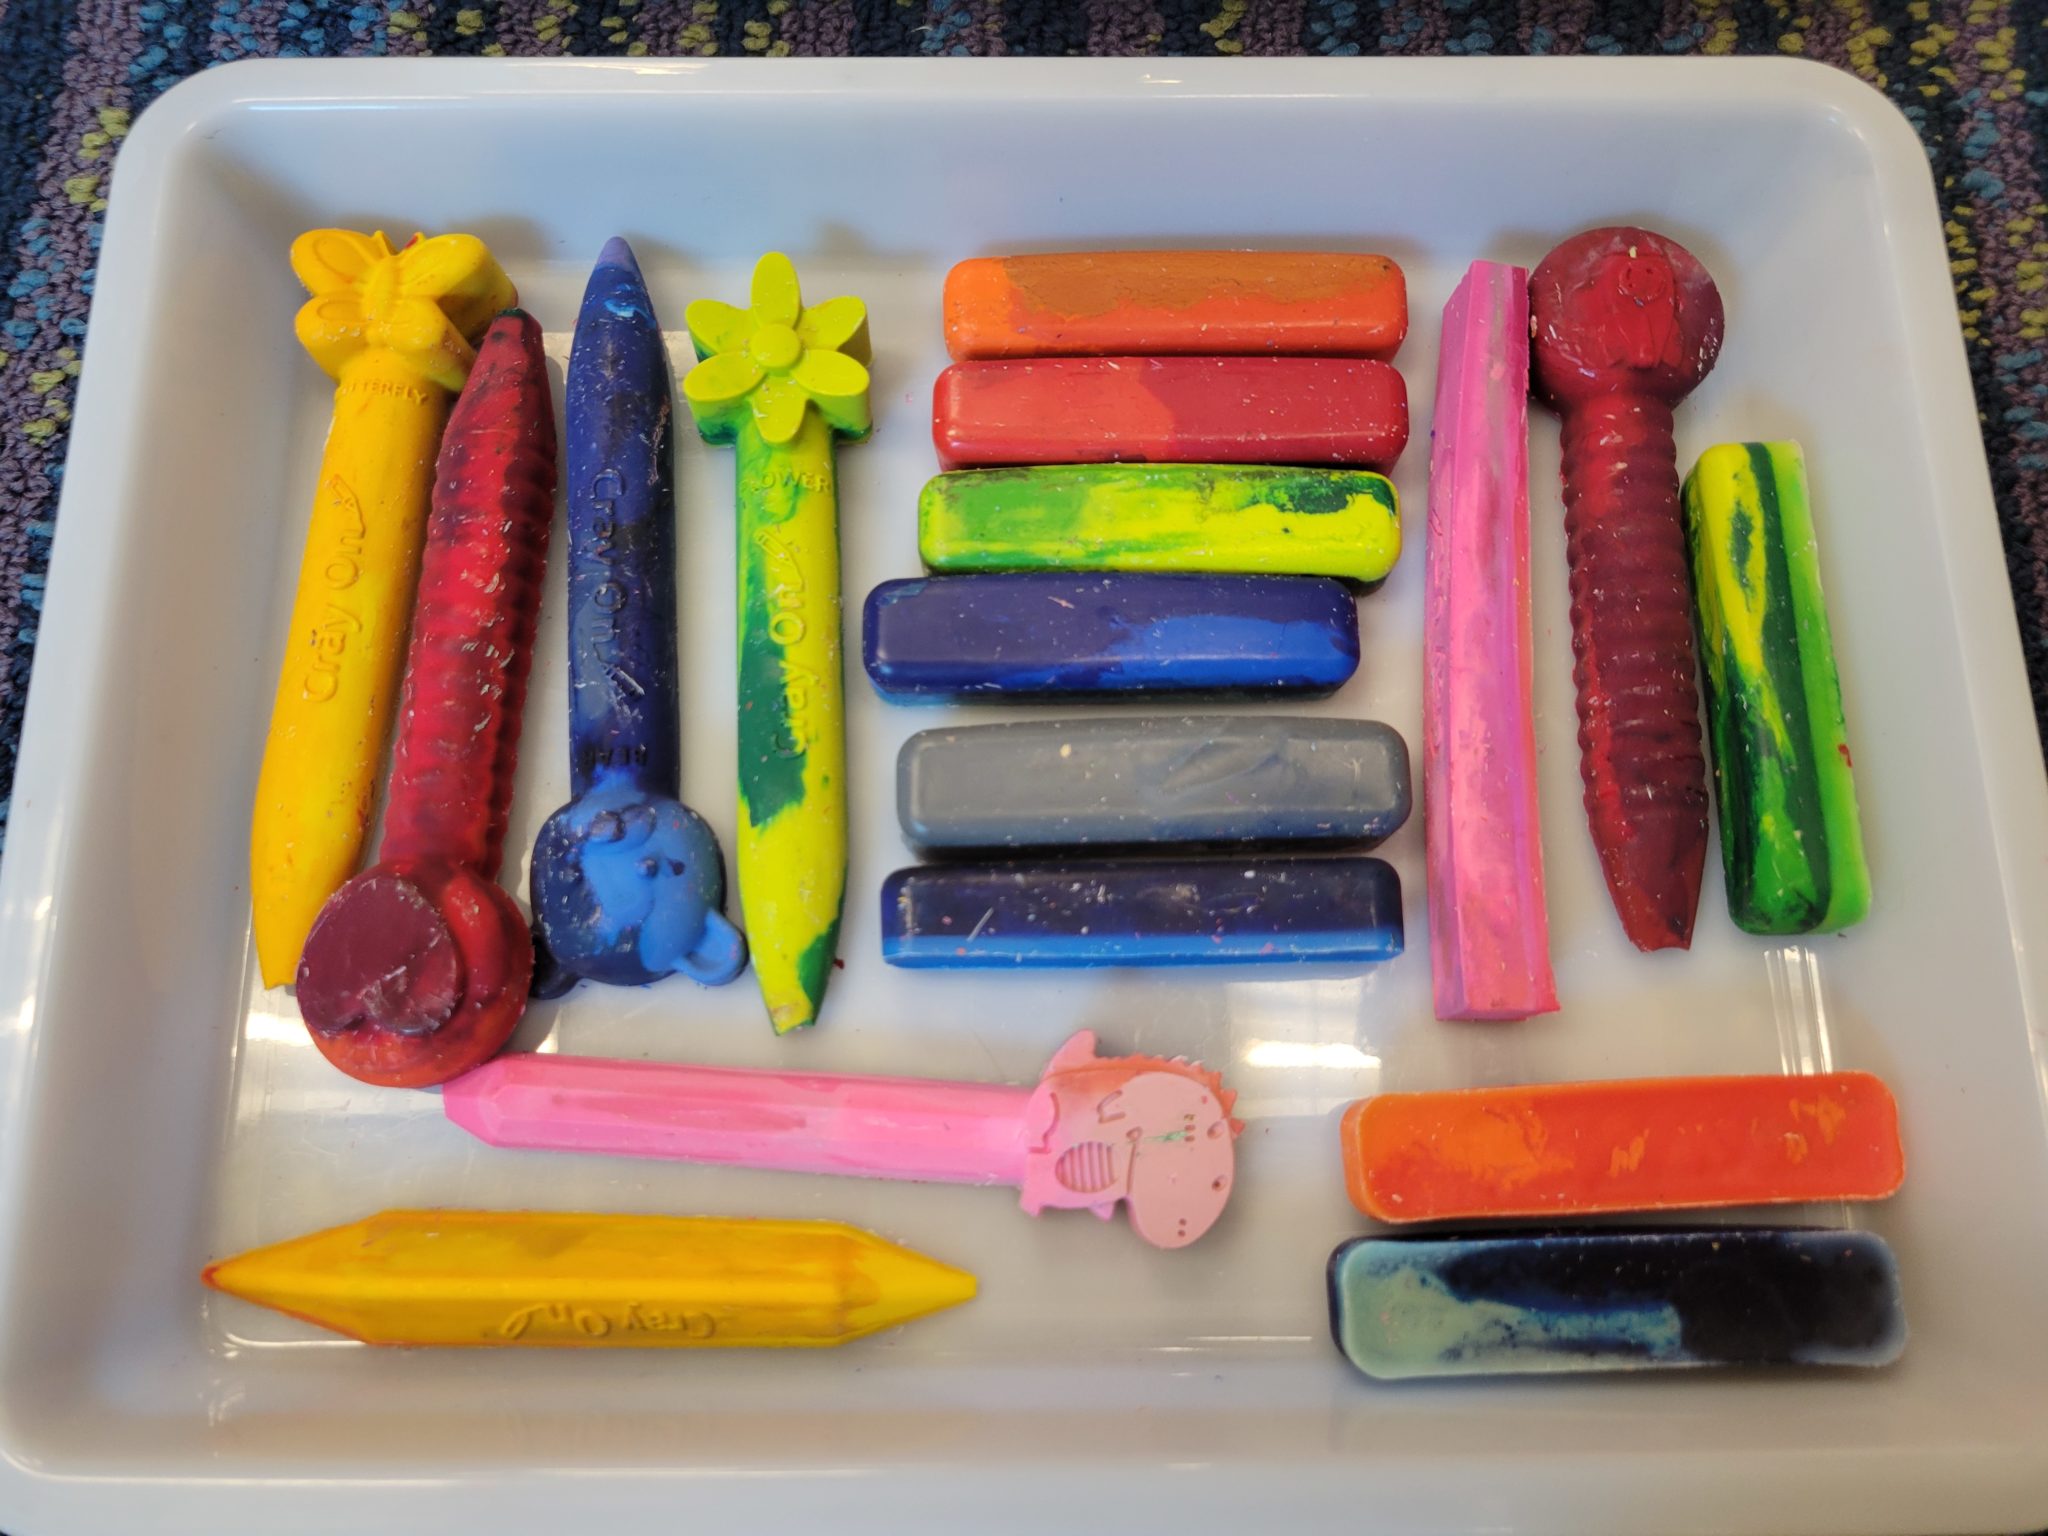
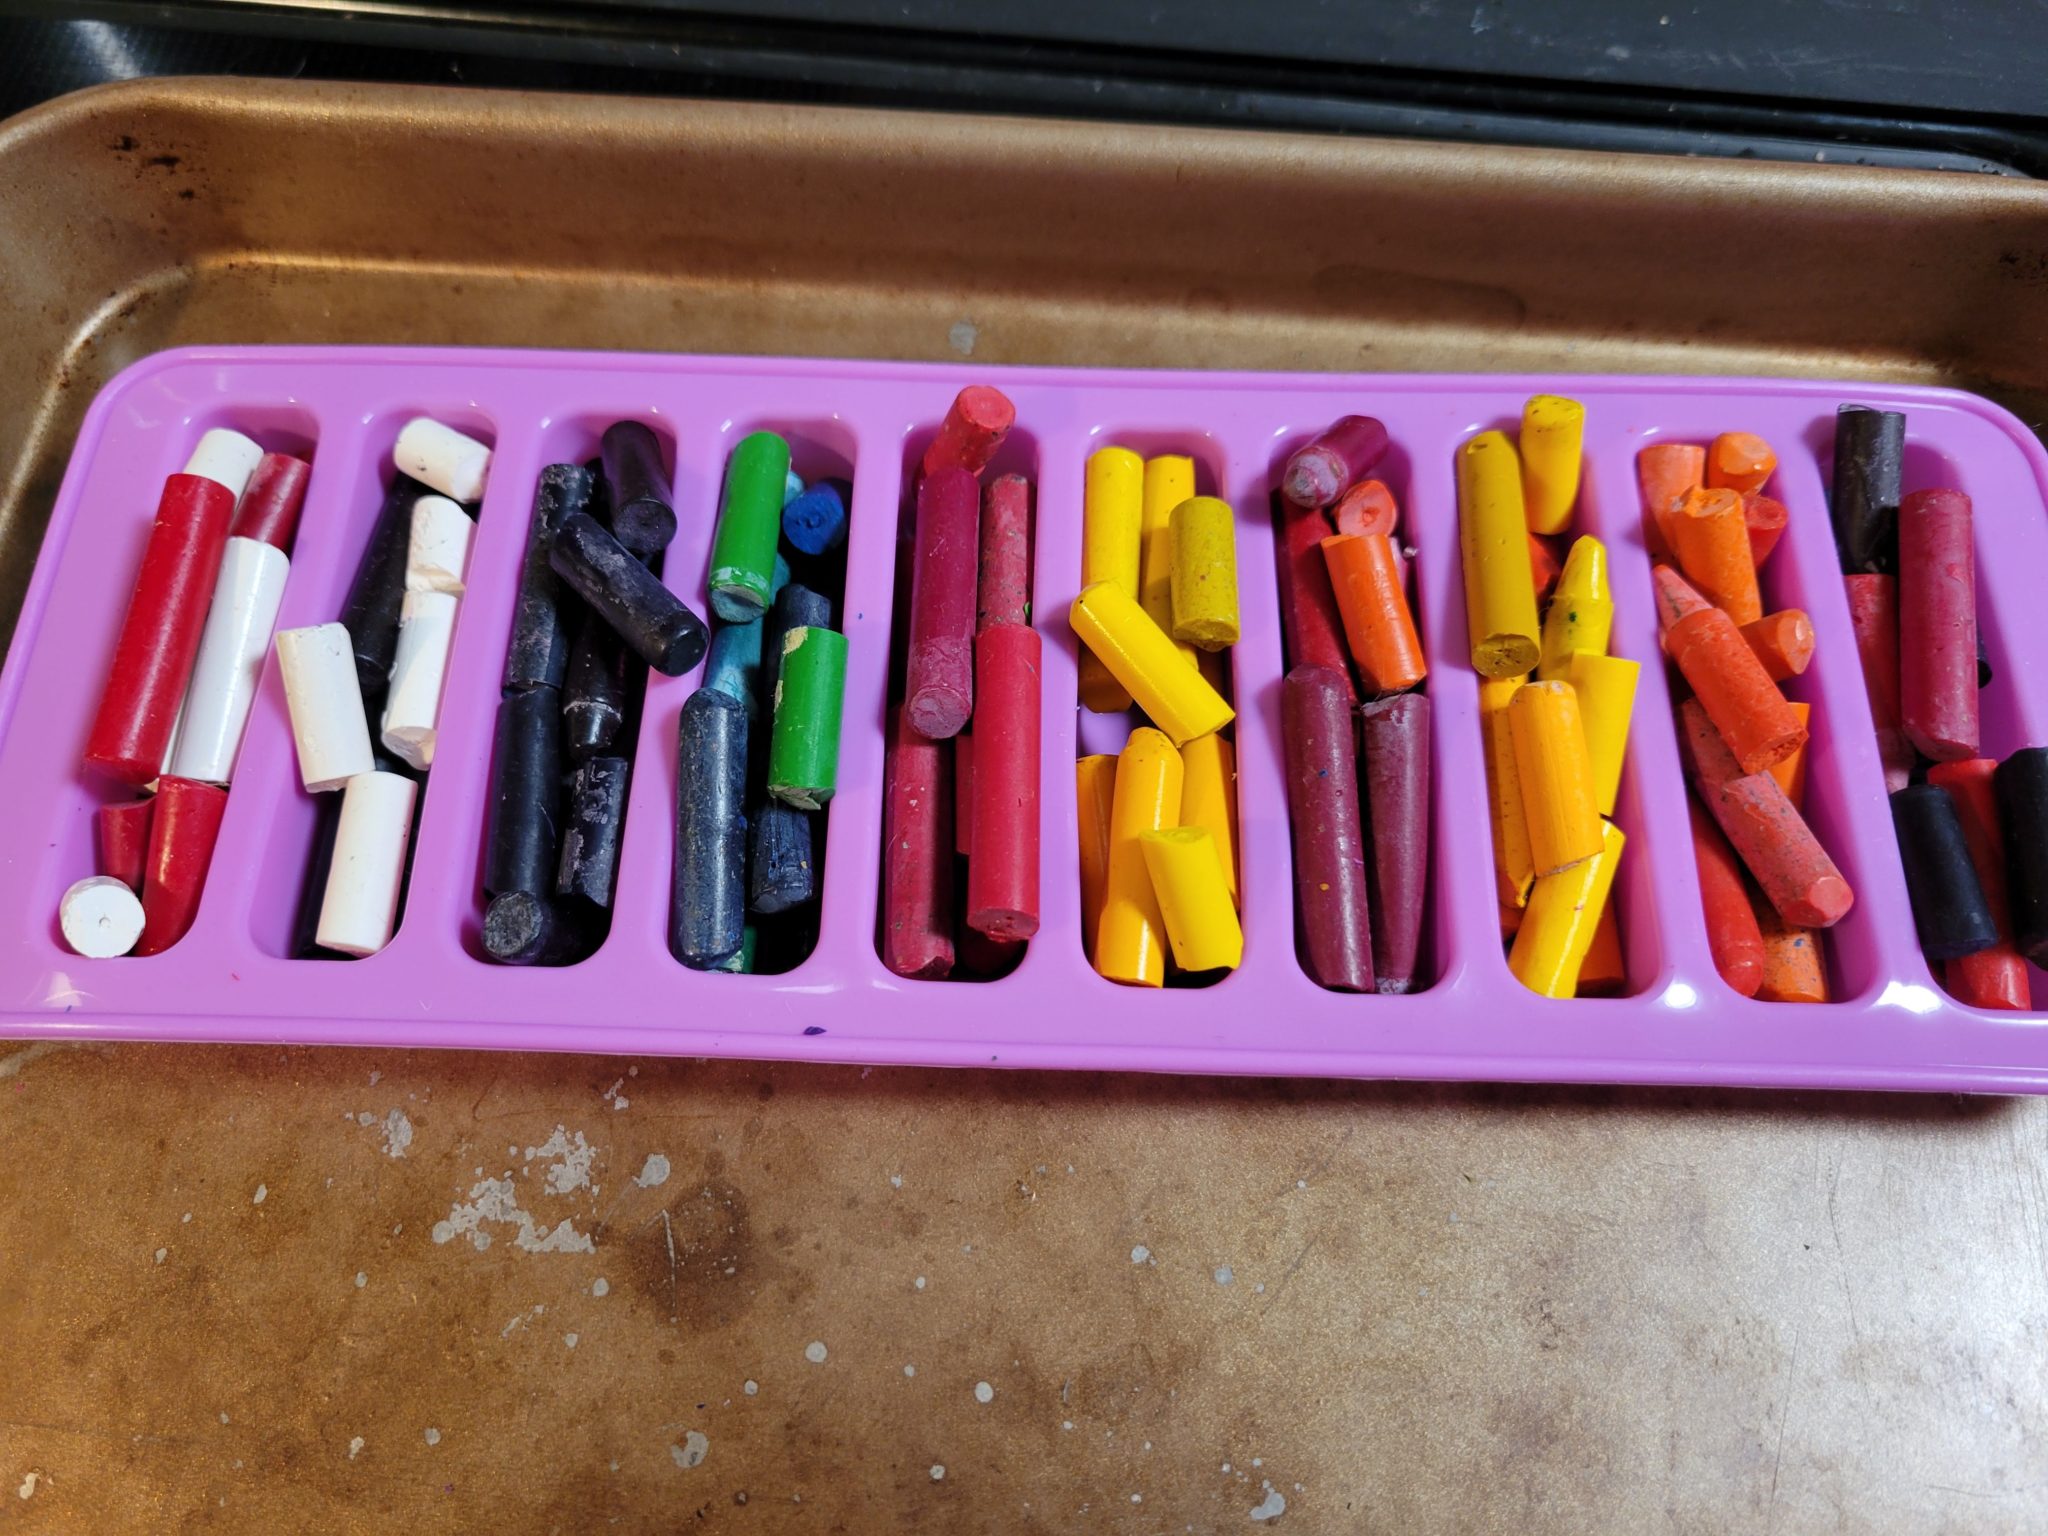
First, we purchased a few sets of molds, which allowed me to melt a larger volume of crayons at once. We also worked together to remove the paper from the crayons and sort them by color. You don’t have to sort the crayons. Given how many we had, it made the process easier.

A bit of online research suggested the crayons should be in the oven for 10 to 15 minutes, at 250 to 300 degrees. It was also suggested that the crayons be broken into small pieces. I tried both broken crayons and full size. The broken crayons both melted quickly and fit into the molds better.
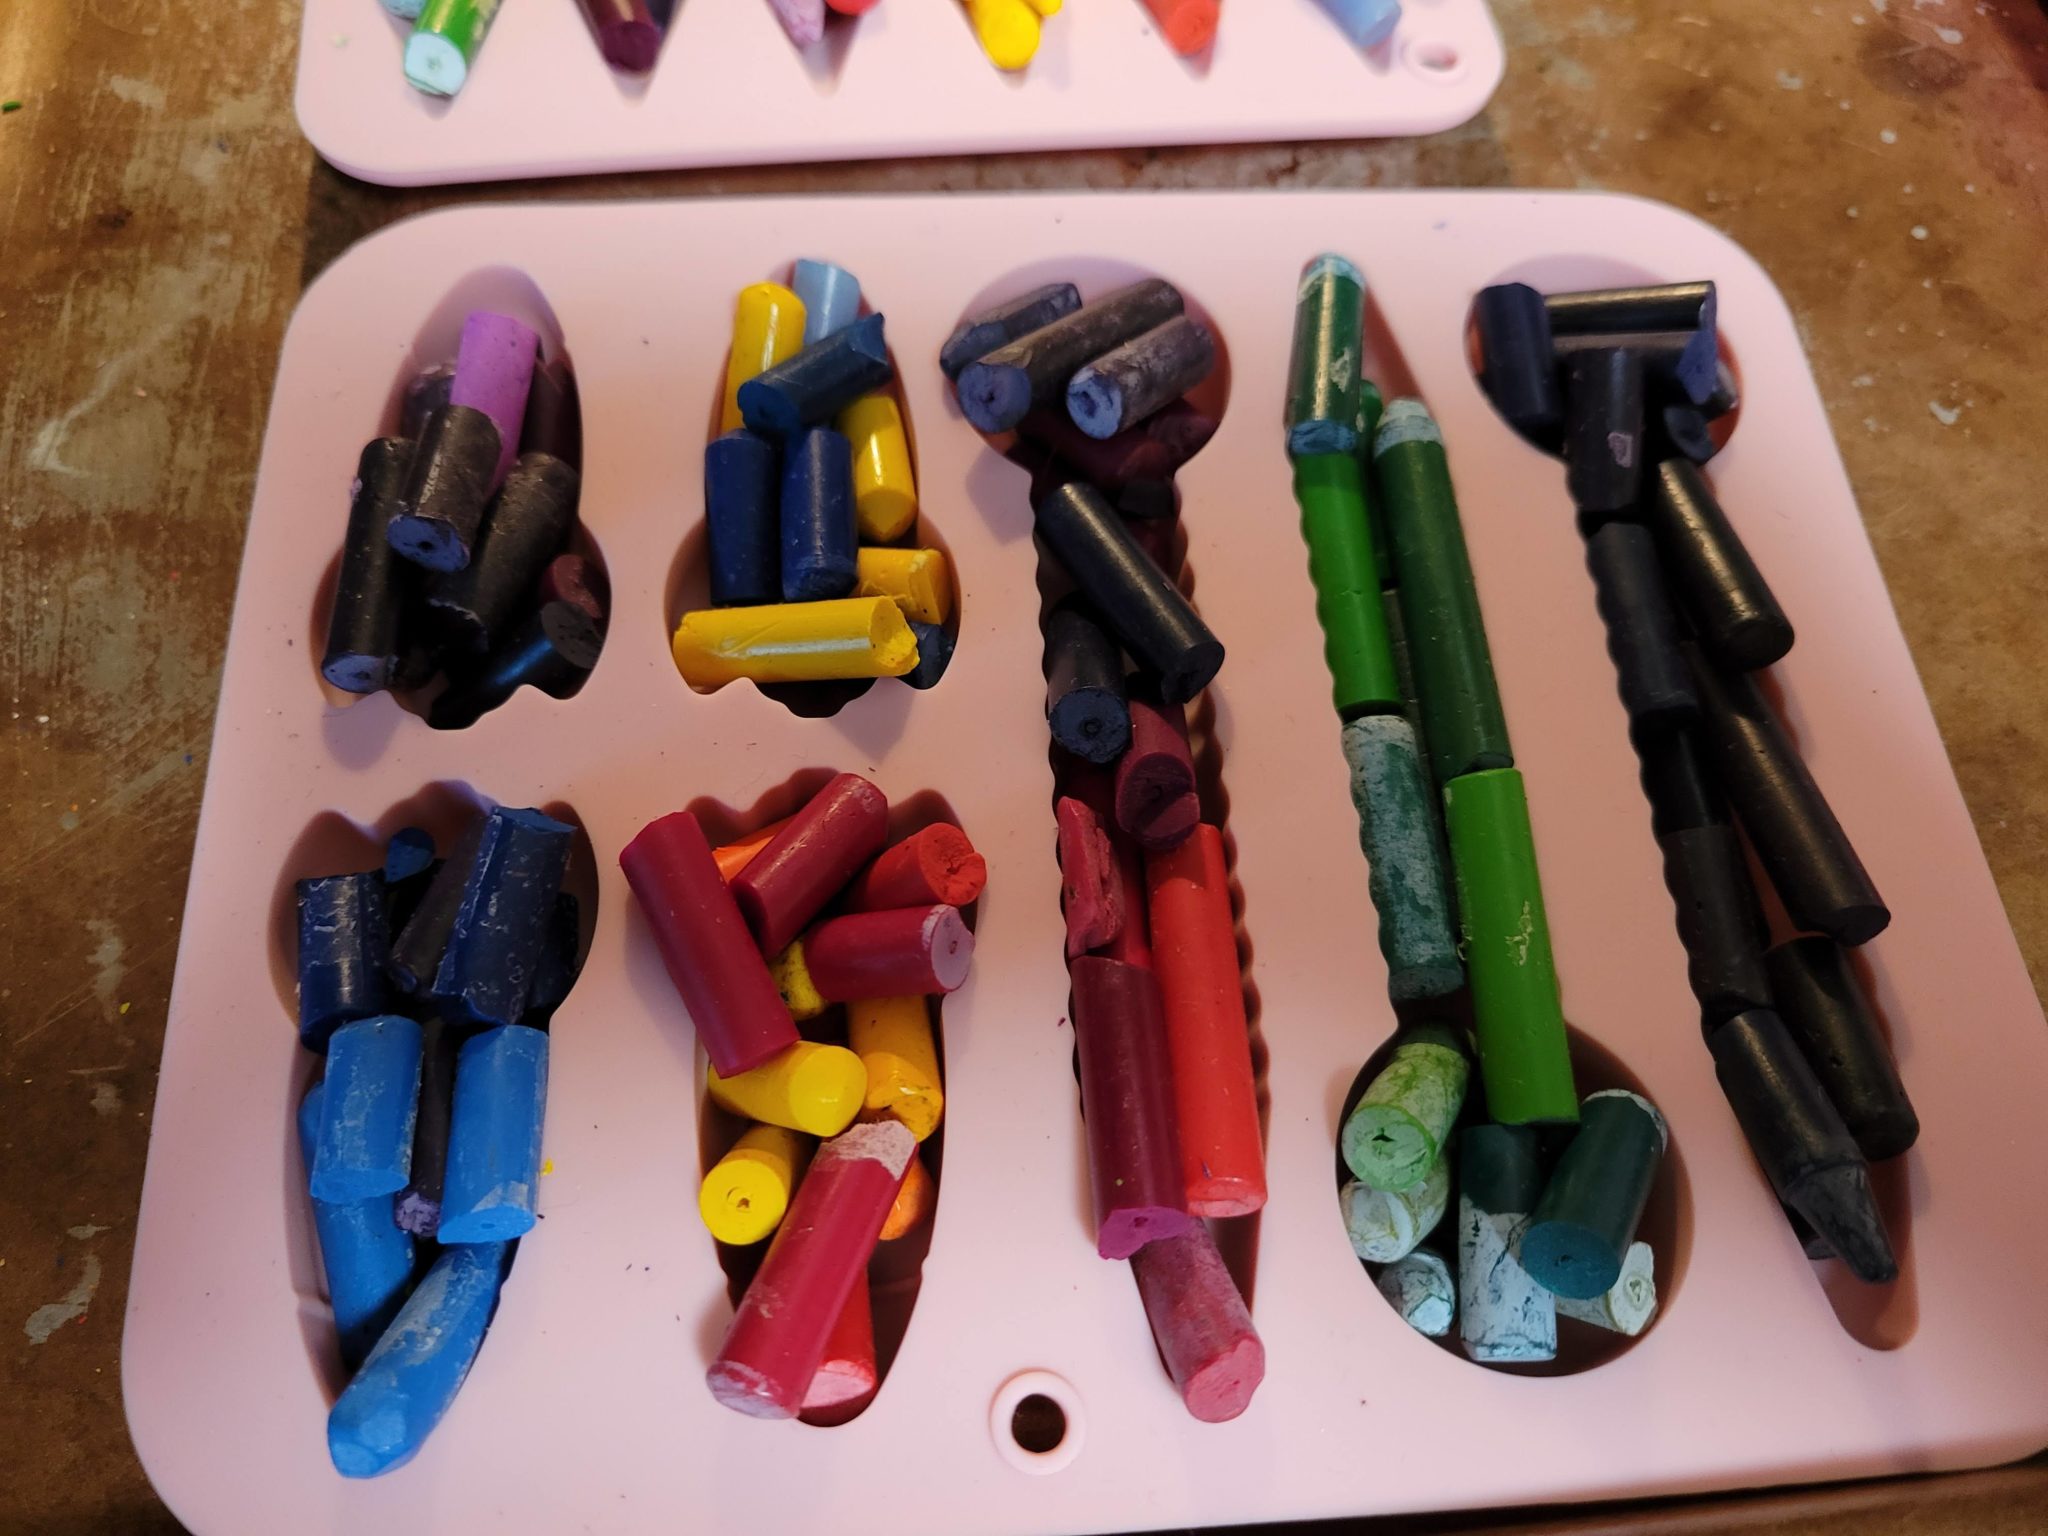
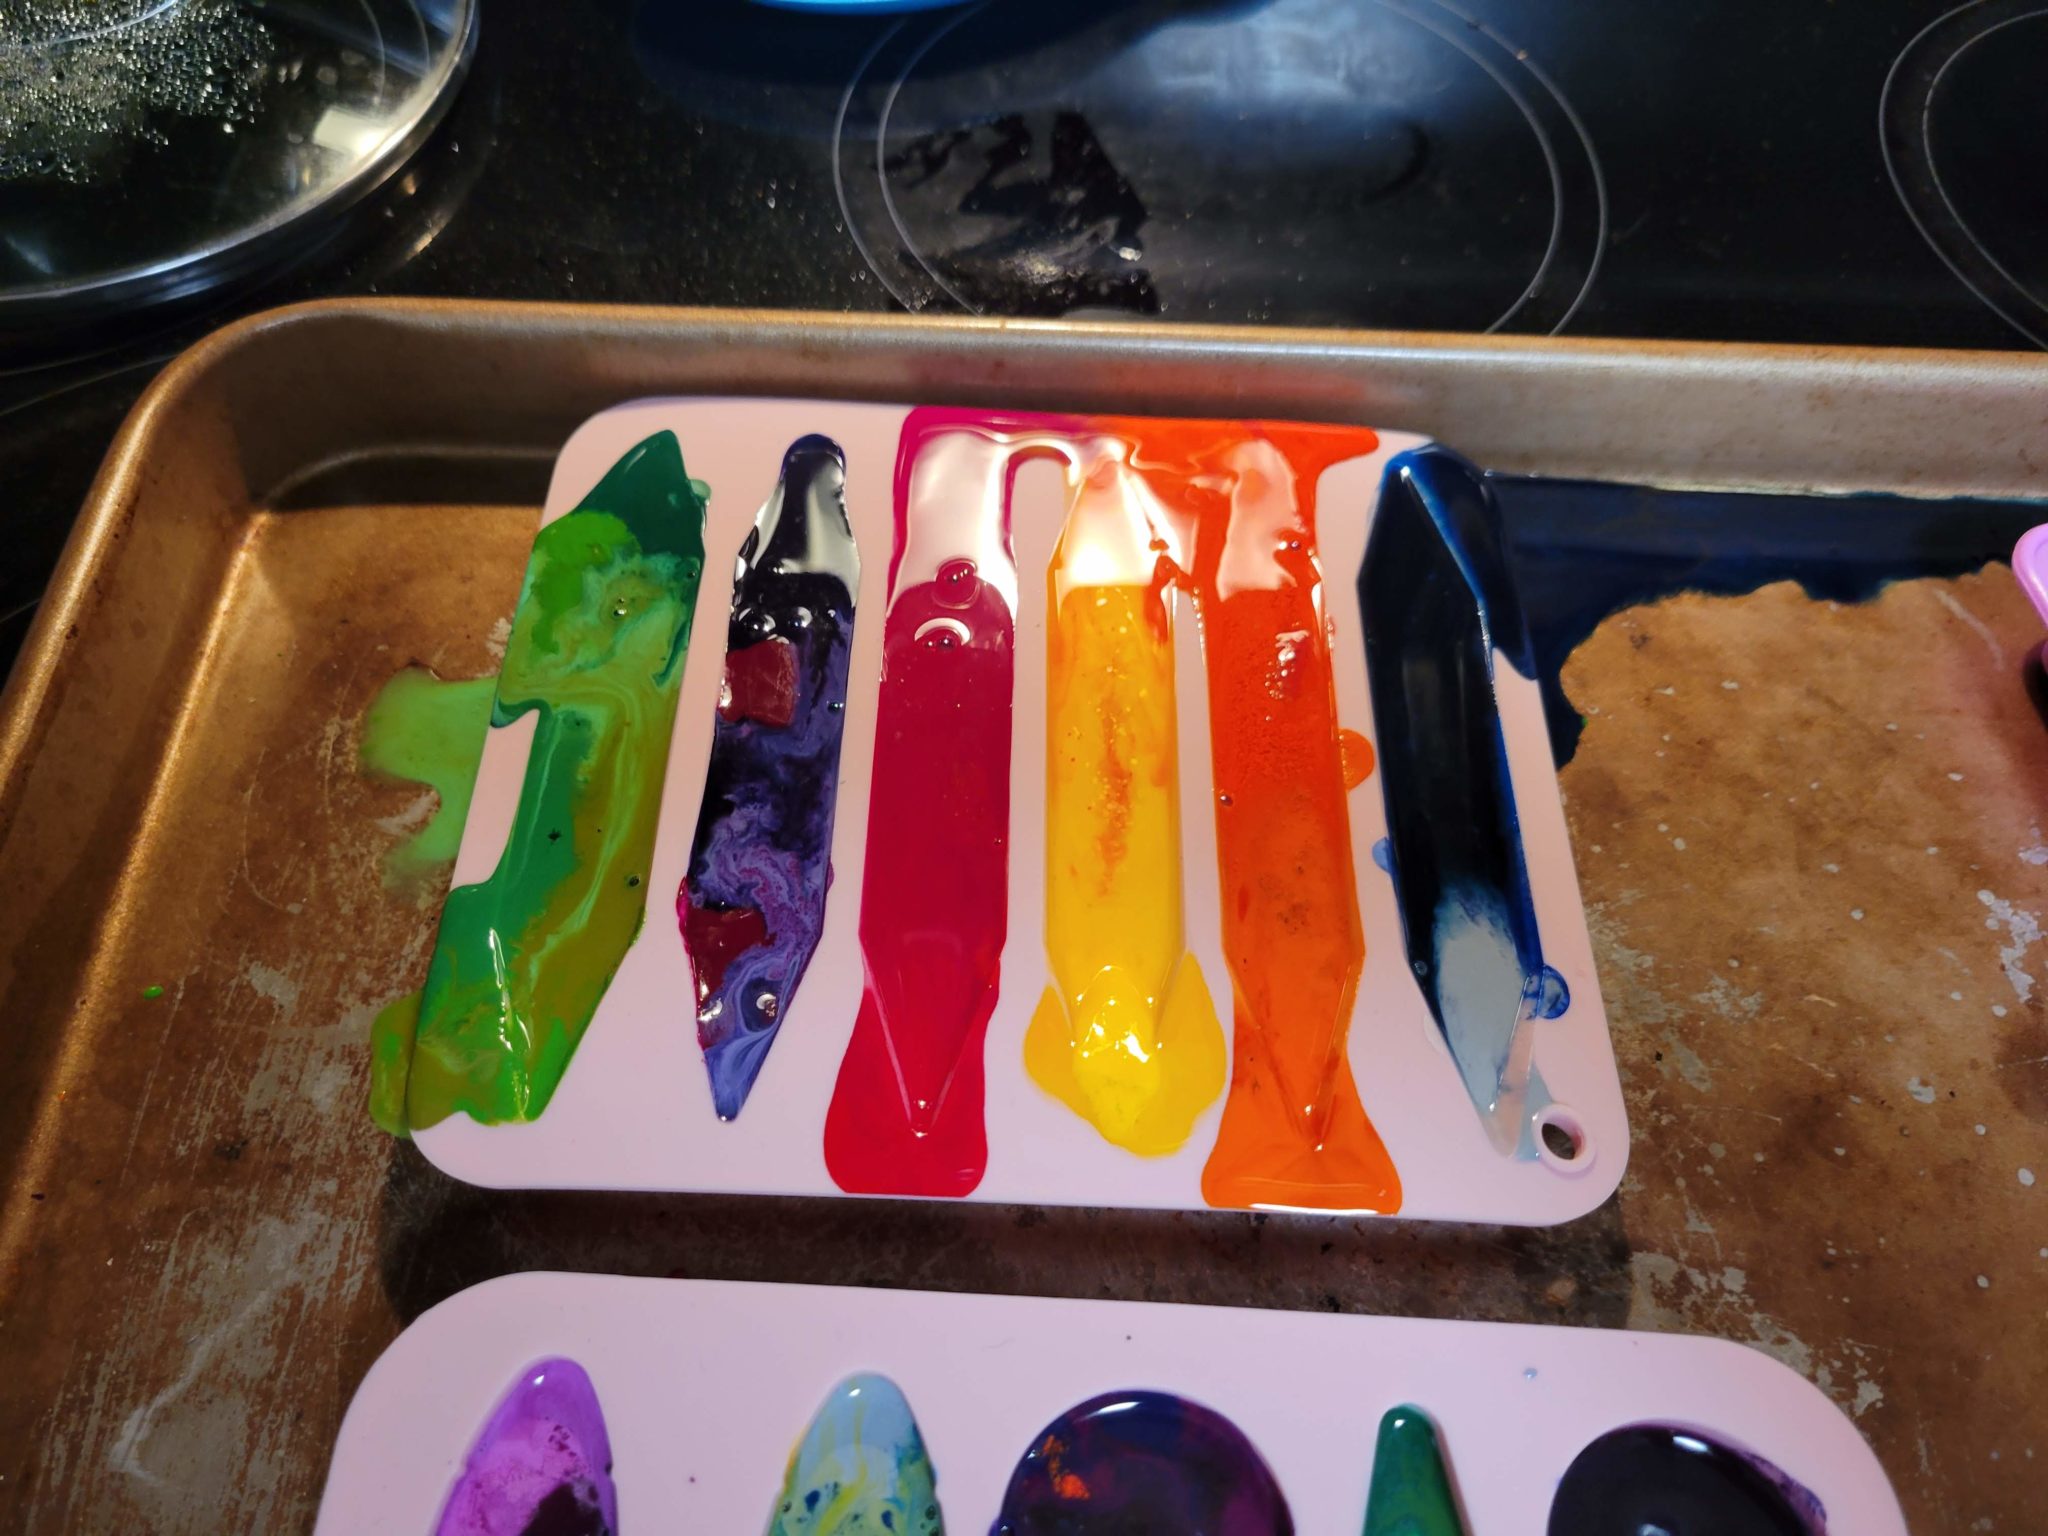
When it came time to melt the crayons, I started with the molds on the cookie sheet I was not emotionally attached to. I didn’t know if I would be able to use this sheet ever again, and that the molds were floppy. I needed the cookie sheet to support them and hopefully reduce spilling. I also took the time to intentionally fill each mold with what I thought would be complimentary colors; blues and greens, pinks and reds, orange and yellows.

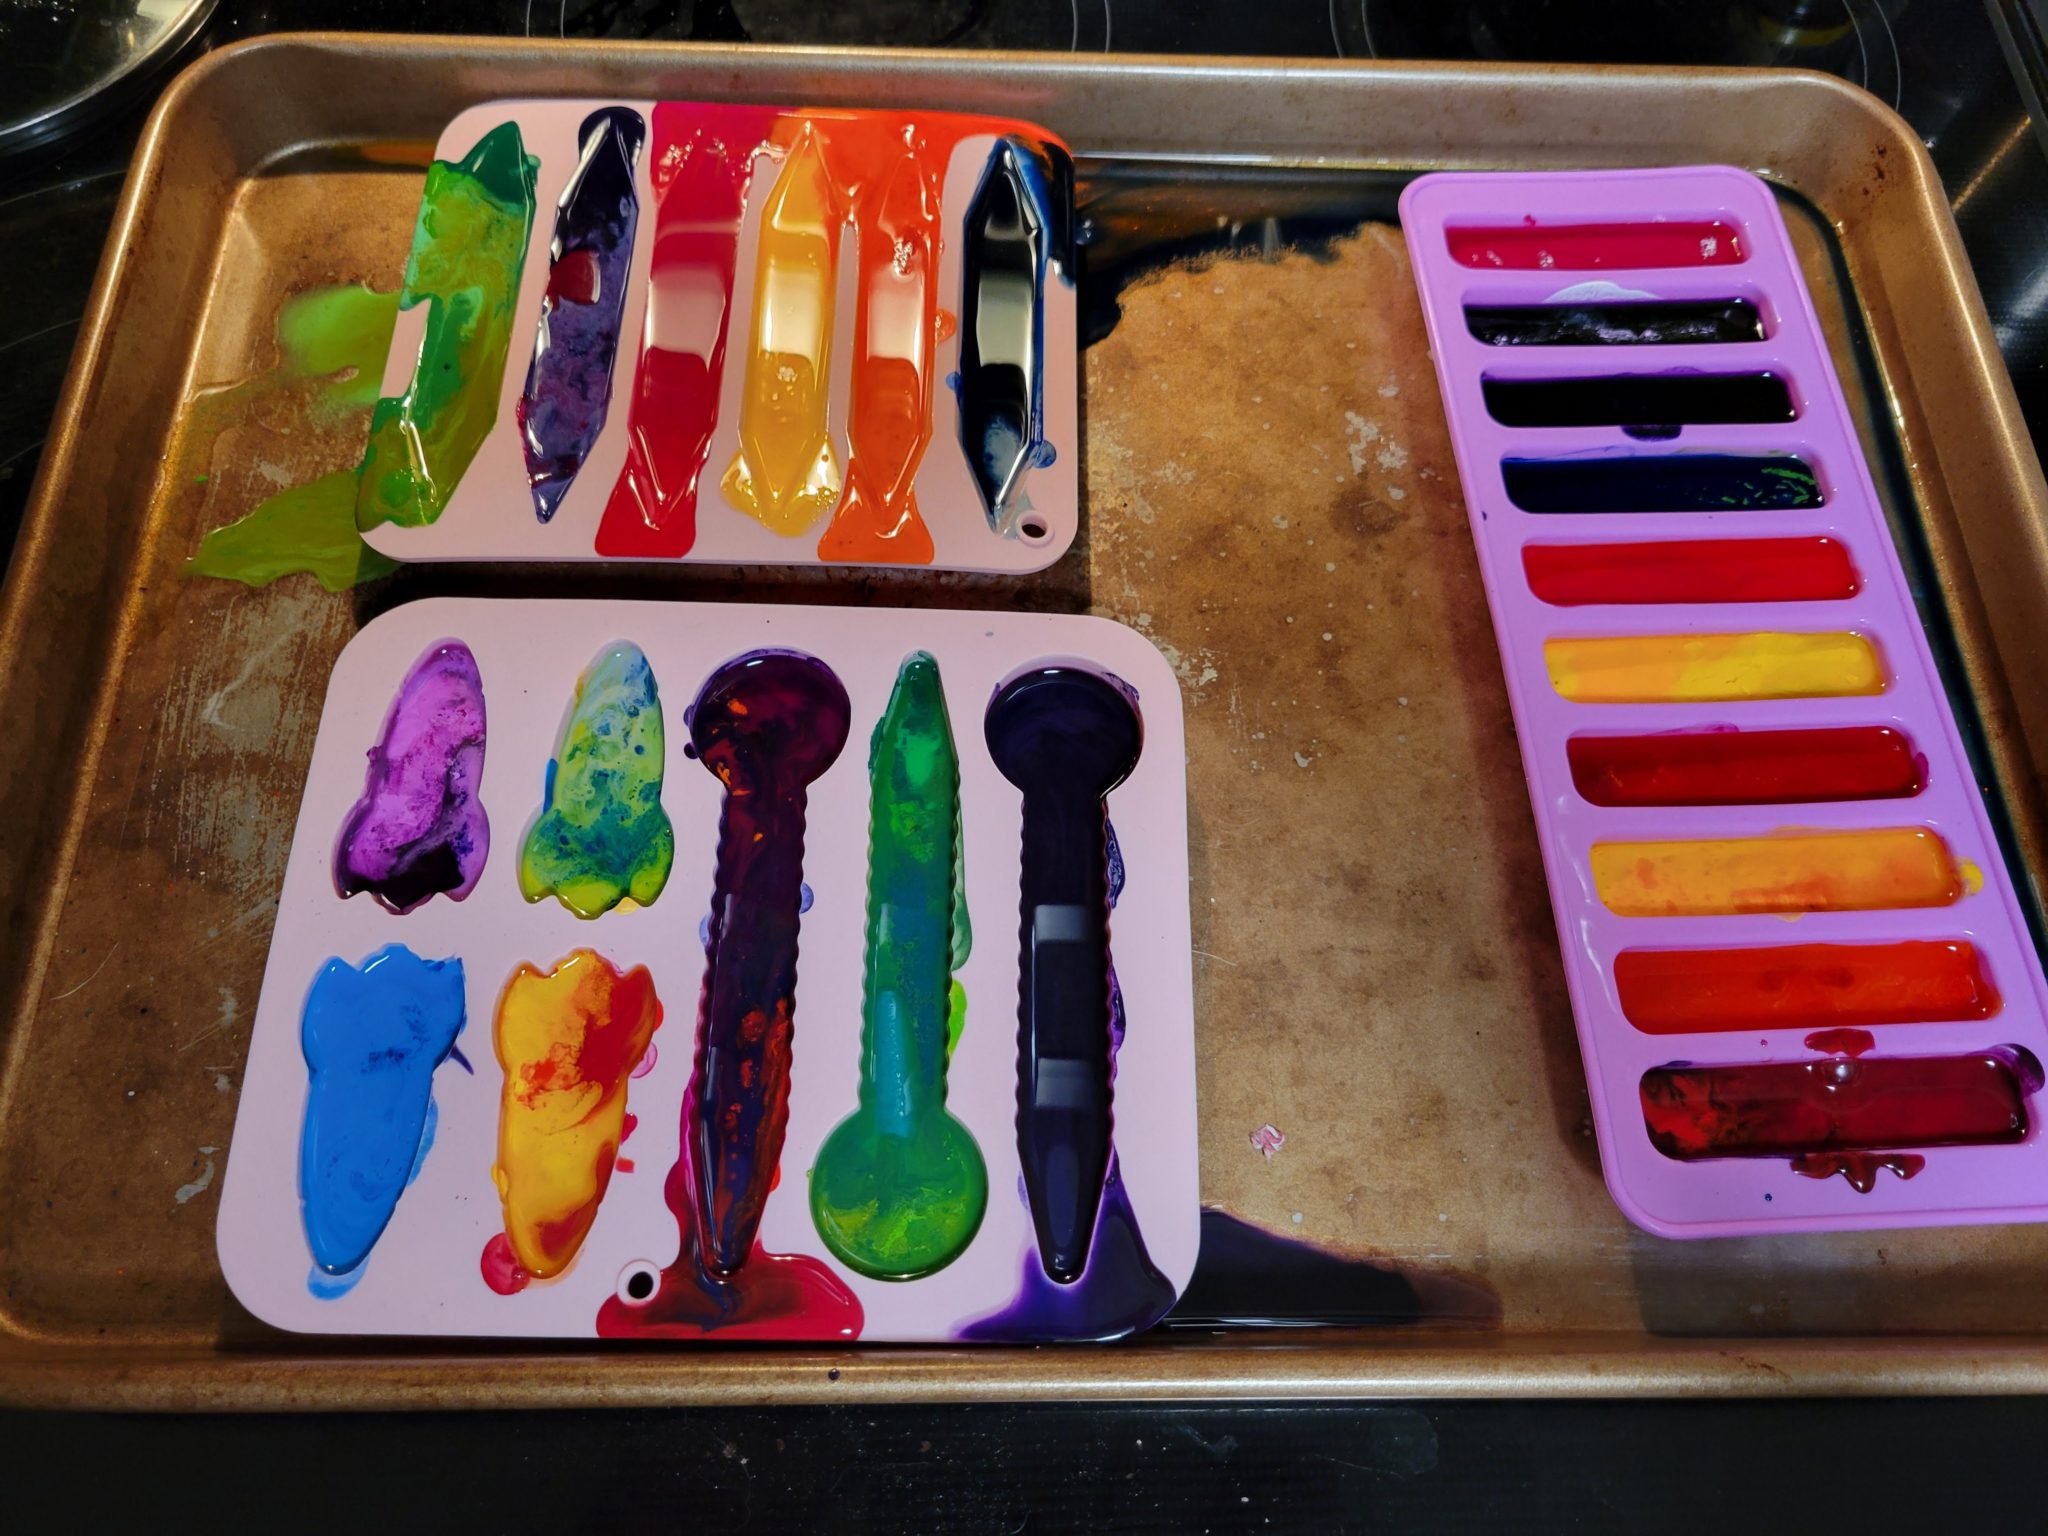
Once the molds were filled to where I thought they should be (spoiler: too full), I put them into the oven at 250 degrees for 10 minutes. This was not long enough, so I increased the time in two-minute increments. The first batch took about 16 minutes to fully melt. I discovered I had overfilled the molds, and the extra wax ran over. I also learned I needed to be very careful removing the mold and setting it down, holding it as level as possible the entire time so it didn’t spill. After some experimentation, I found that 15 minutes at 275 degrees was about right to melt the crayons fully.
The new crayons took several hours to fully cool and harden. This is the only time I noticed a smell. After the first batch or two, I set the pan outside to cool, and avoid my kitchen smelling like melted crayon.
Overall, this was a process I would willingly repeat, especially as it allowed us to upcycle our broken crayons into new ones for the kids to use. I preferred the molds that were around half an inch deep and square. I found that the shallow molds were tricky to remove the new crayon from without breaking. I also should have cleaned the cookie sheet as soon as I discovered there was wax on it and not waited until the end. The spilled wax will remelt and stick to the molds, making them difficult to remove.
This is an activity you could certainly do with kiddos. They can help remove the paper, break the crayons into small pieces and even fill the molds. Once the crayons have fully cooled, they can help remove from the molds.