Did you know March 16th is Panda Day? In celebration of these cute critters, I found a fun panda-themed craft with a new way of applying paint to paper.
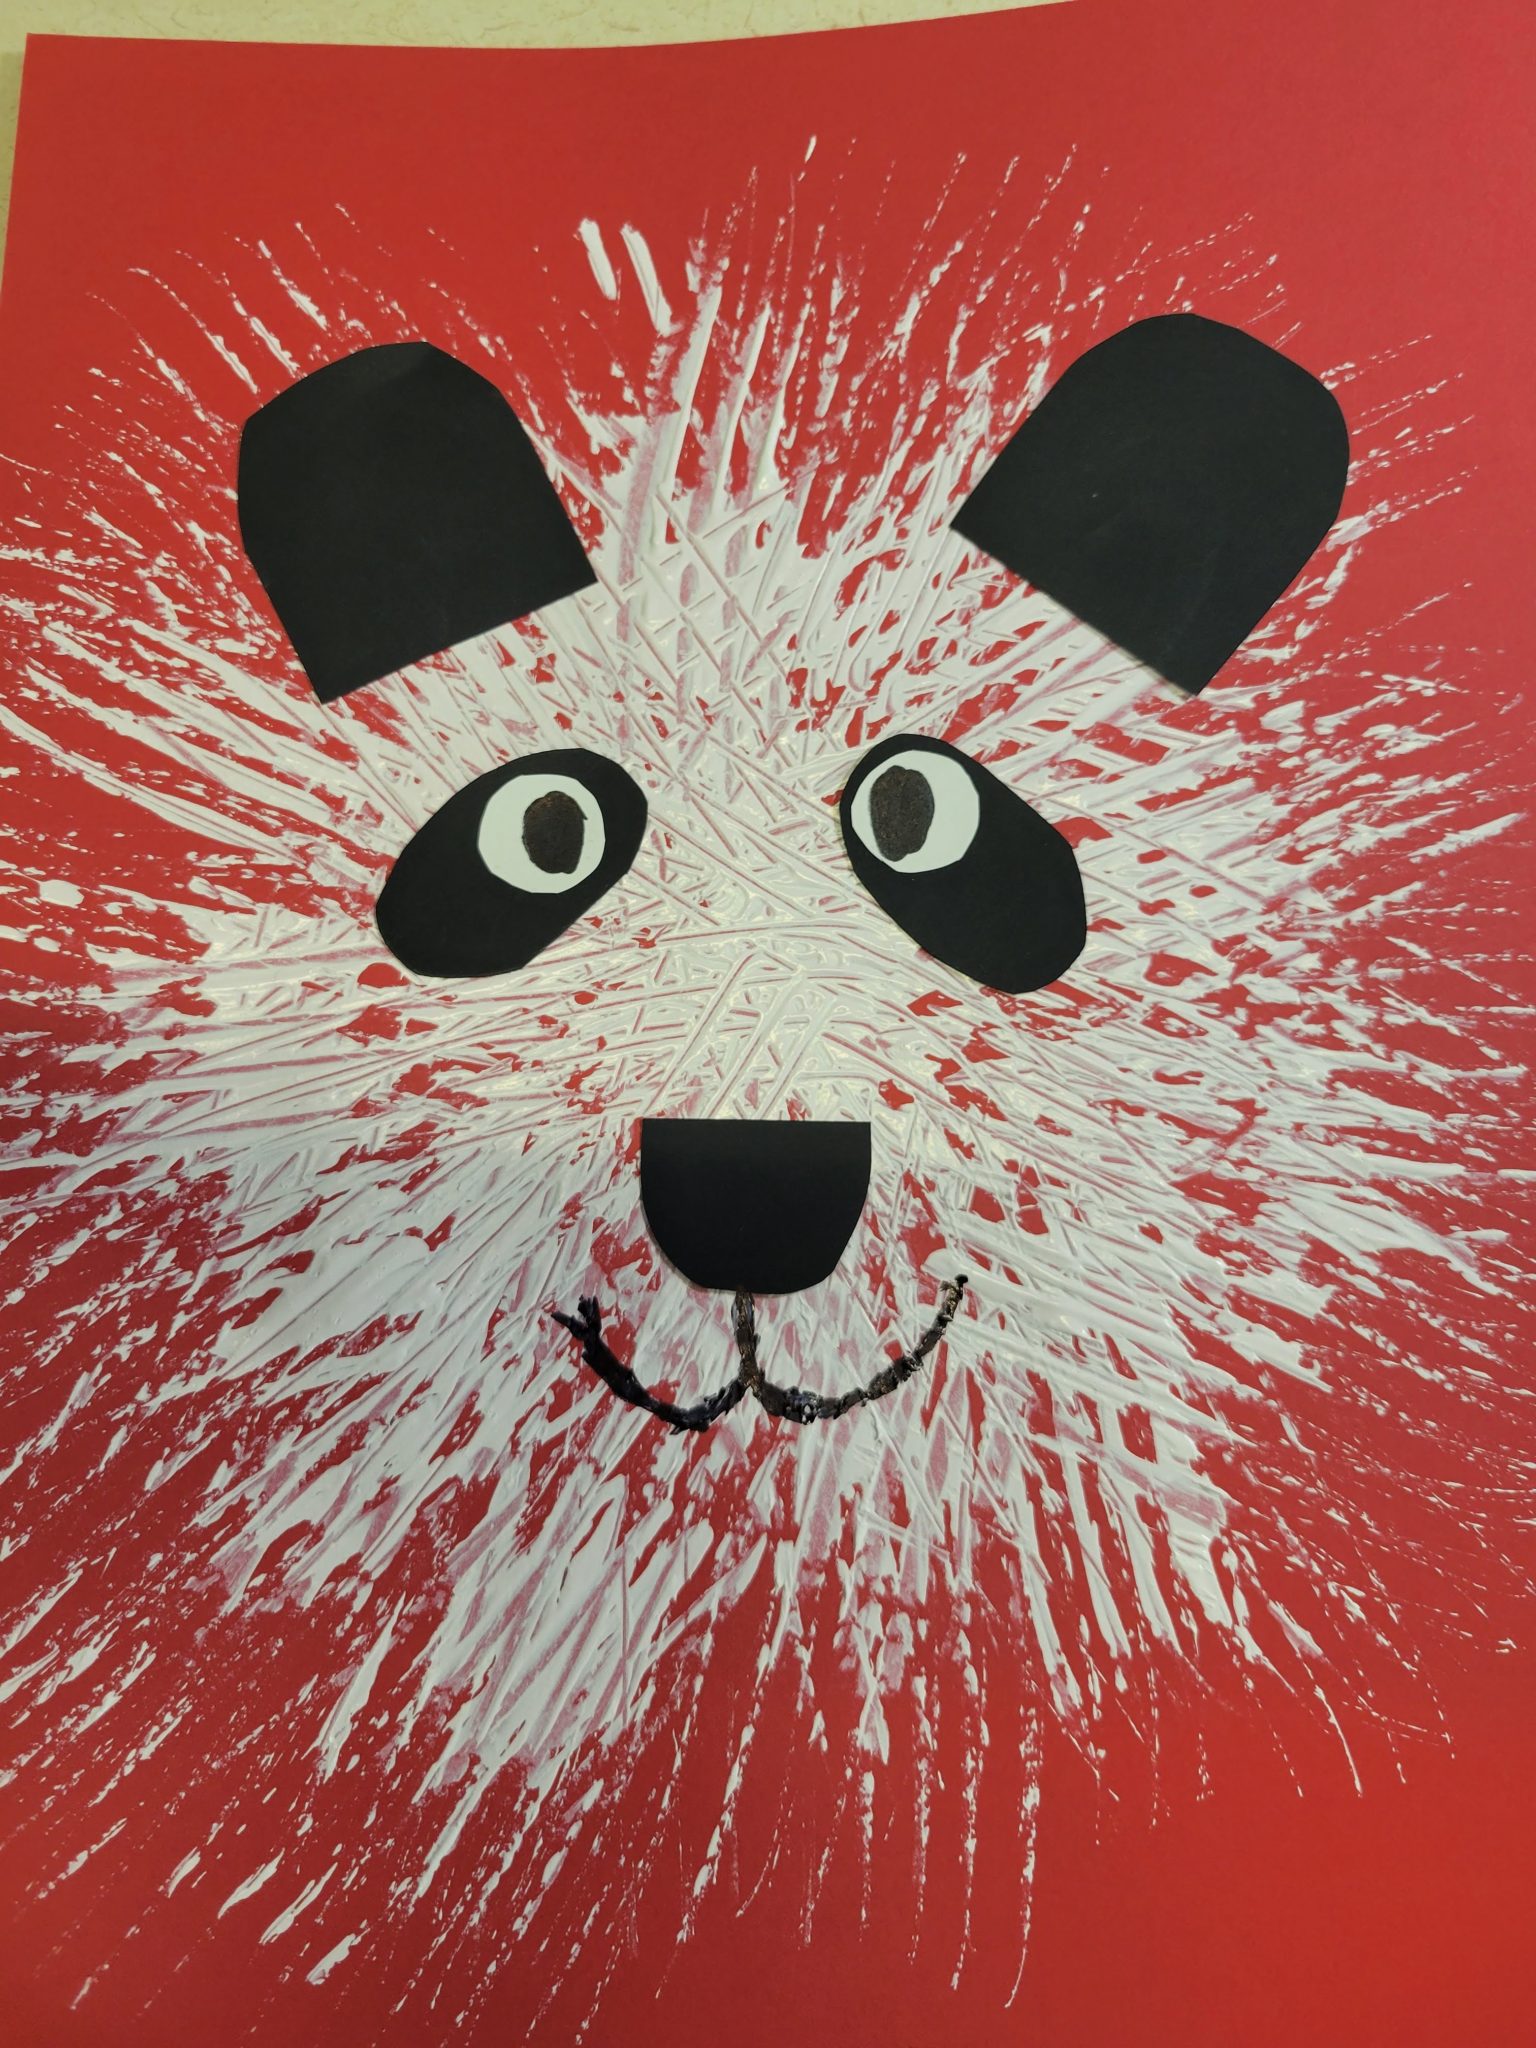
Usually, when I look for crafts and activities to share, I focus on a low mess, with supplies you may already have. Today, however, I’m asking you to bring out the paint to create a super cute panda print. Below are the supplies you will need.
- Colored paper (not white or black)
- White paint
- A fork
- White paper
- Black paper
- Scissors
- Tape or glue
- Black marker
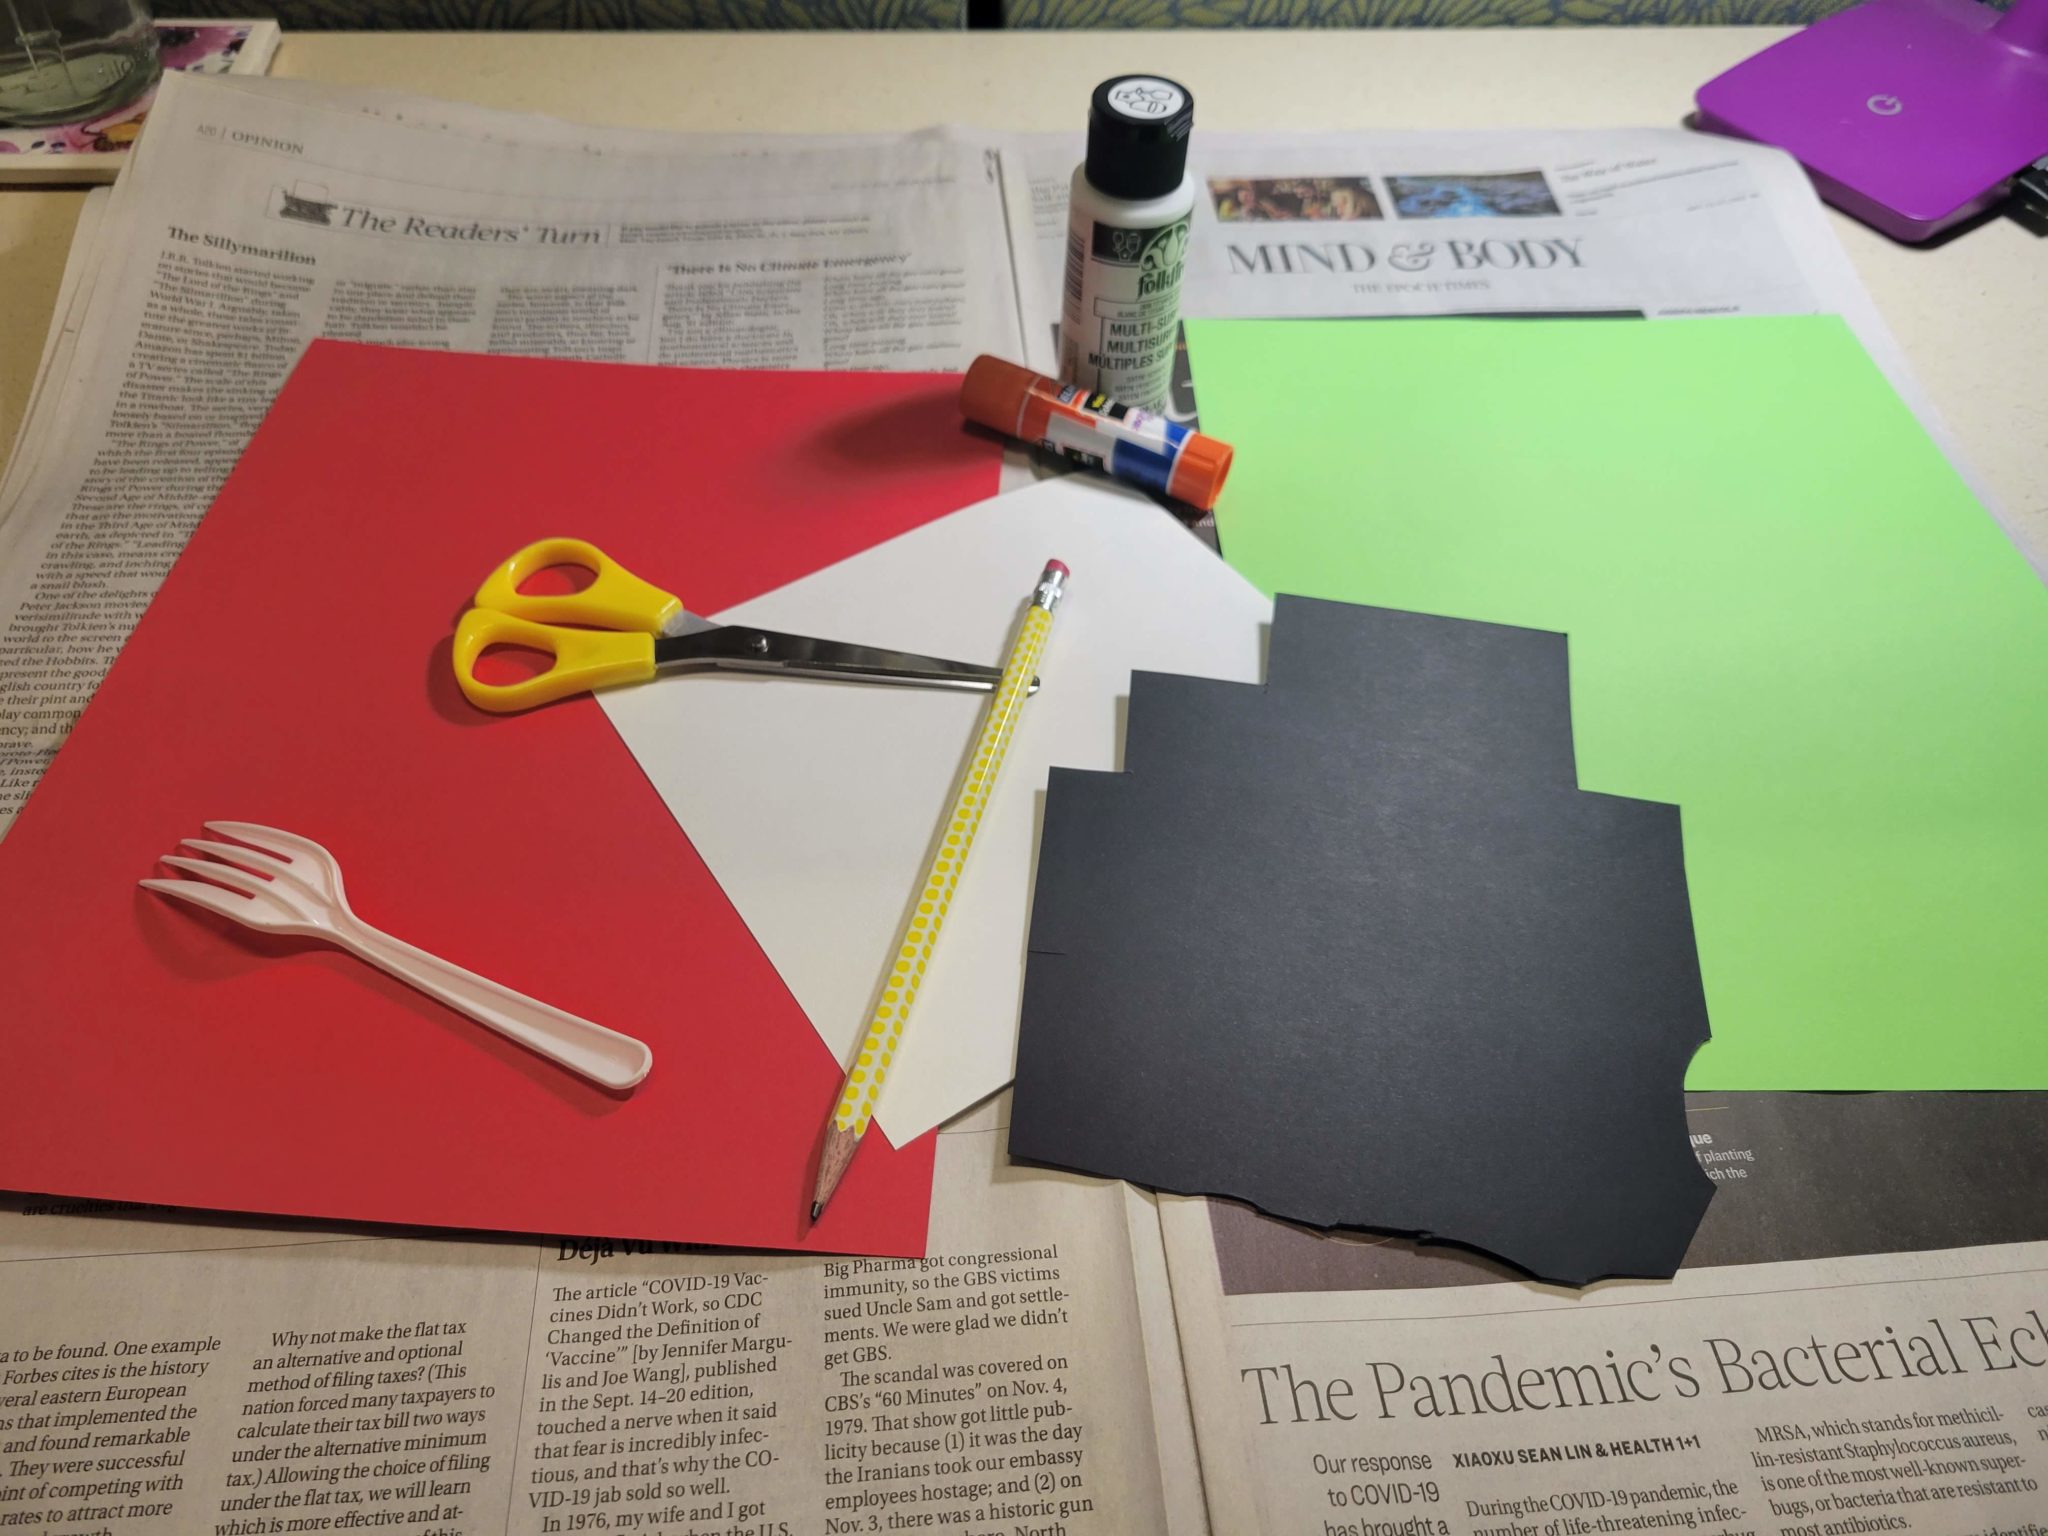
Prepare the work surface by laying down a newspaper, a tablecloth or something else to protect your workspace.
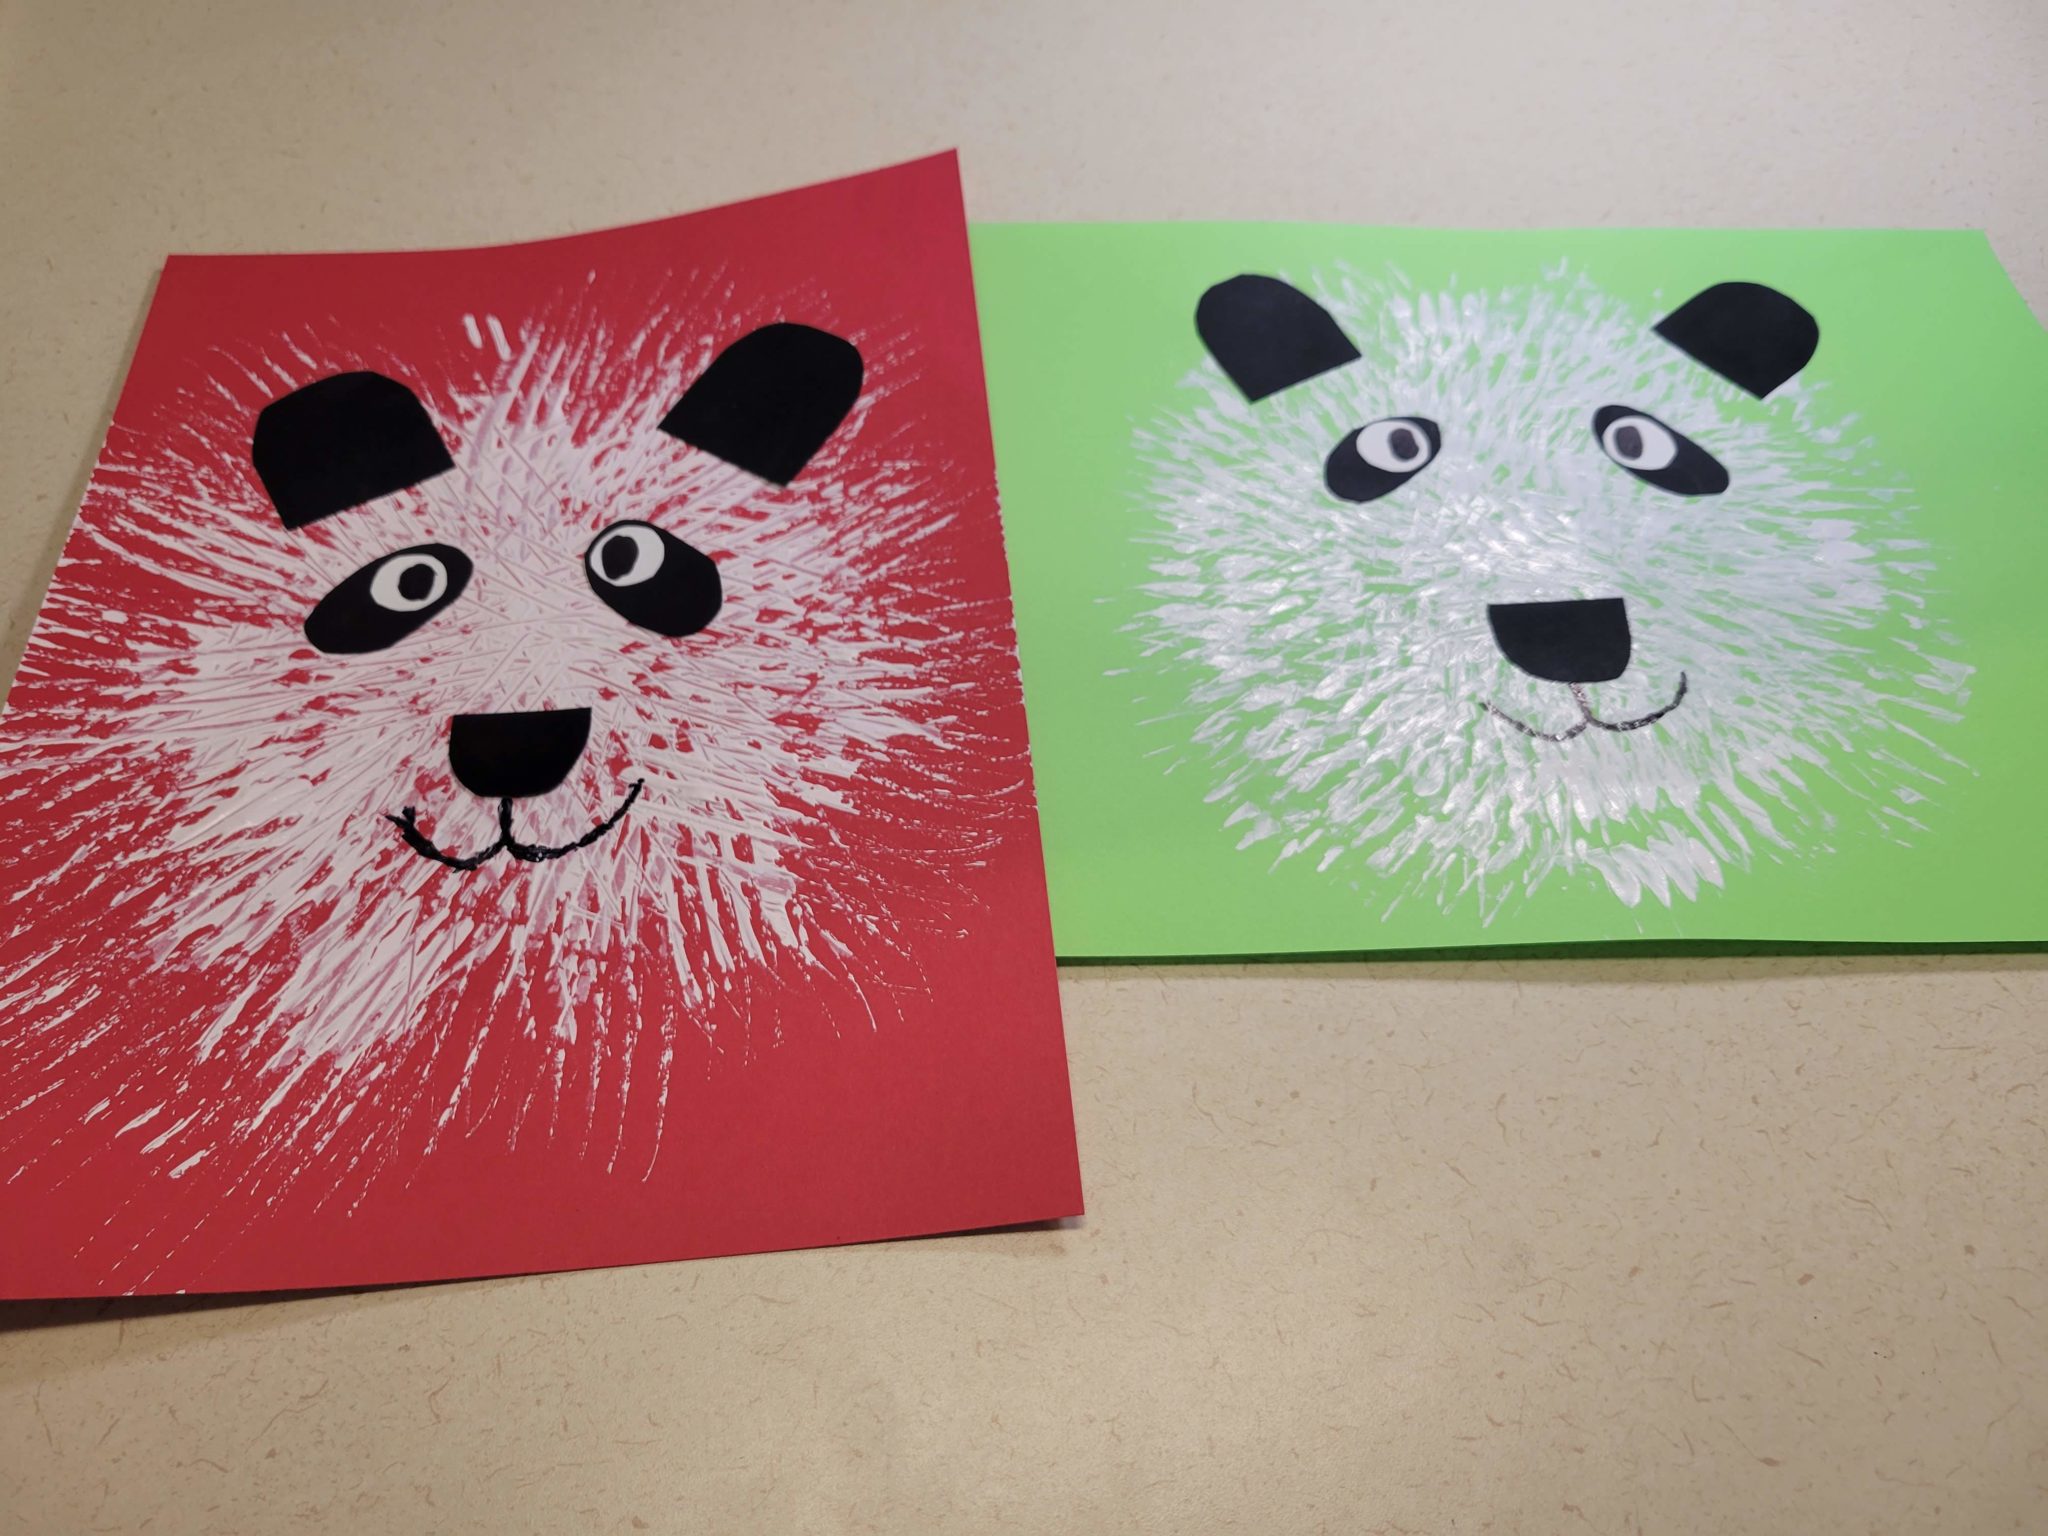
Start by creating your panda’s head. Use the back of the fork to apply paint in a circle on the colored piece of paper. You can dab the paint (which I did on the green background) or place the fork and pull, like with a paintbrush (the red background). Or both. Either way will look cute and fluffy. I used several tablespoons of paint to create my two pandas.
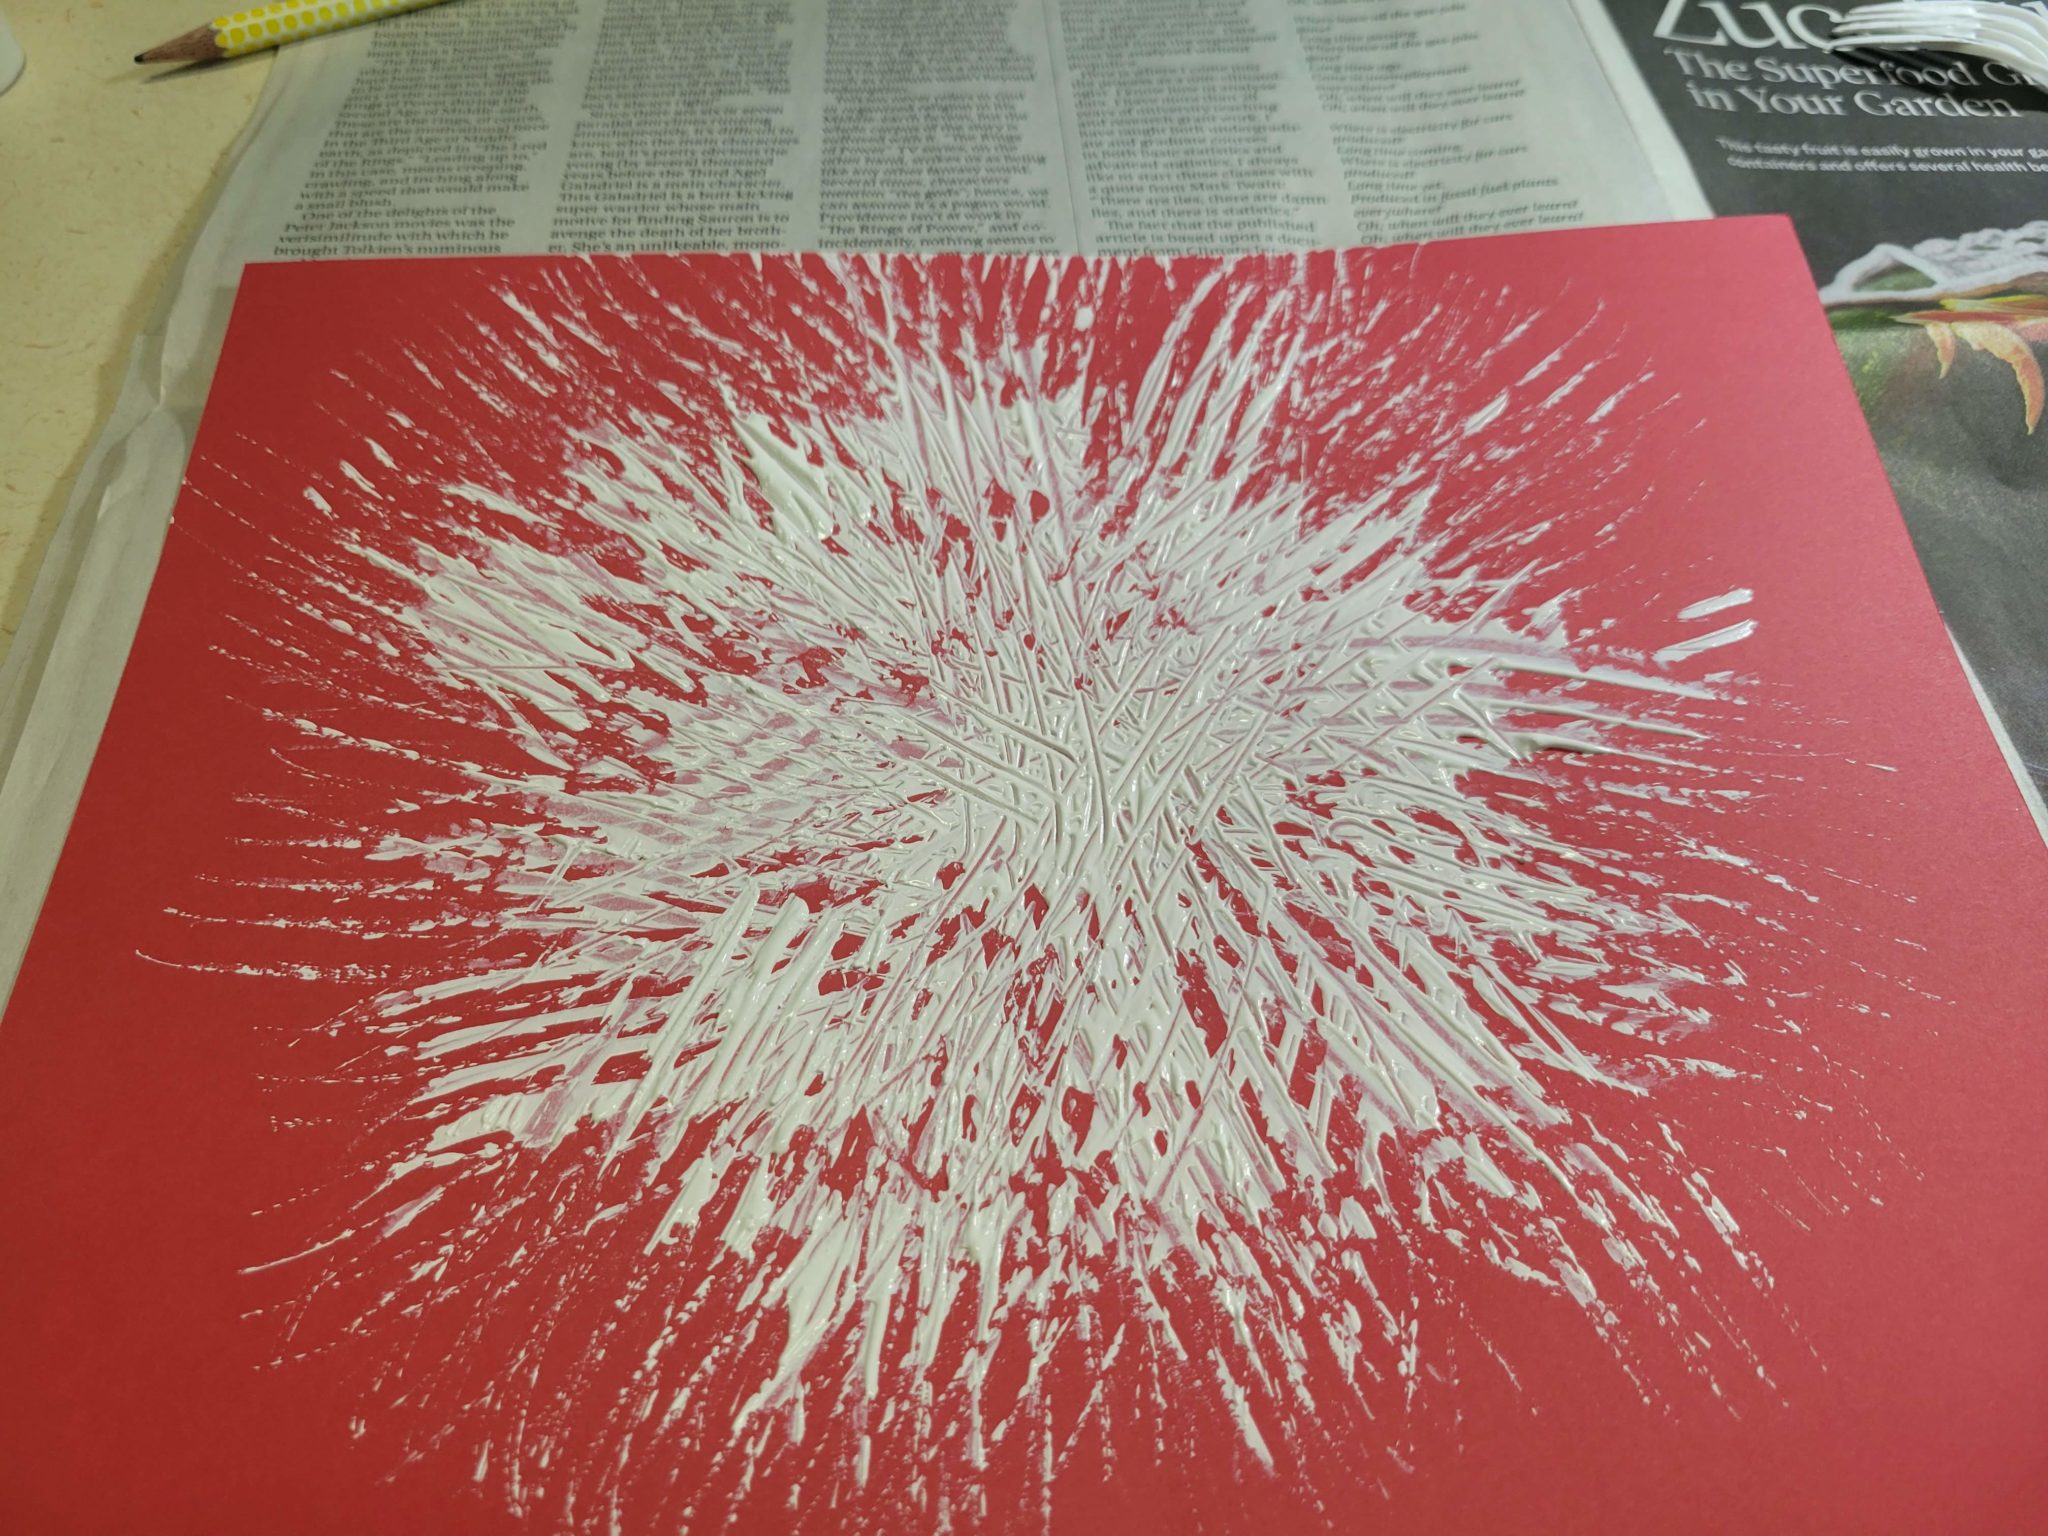
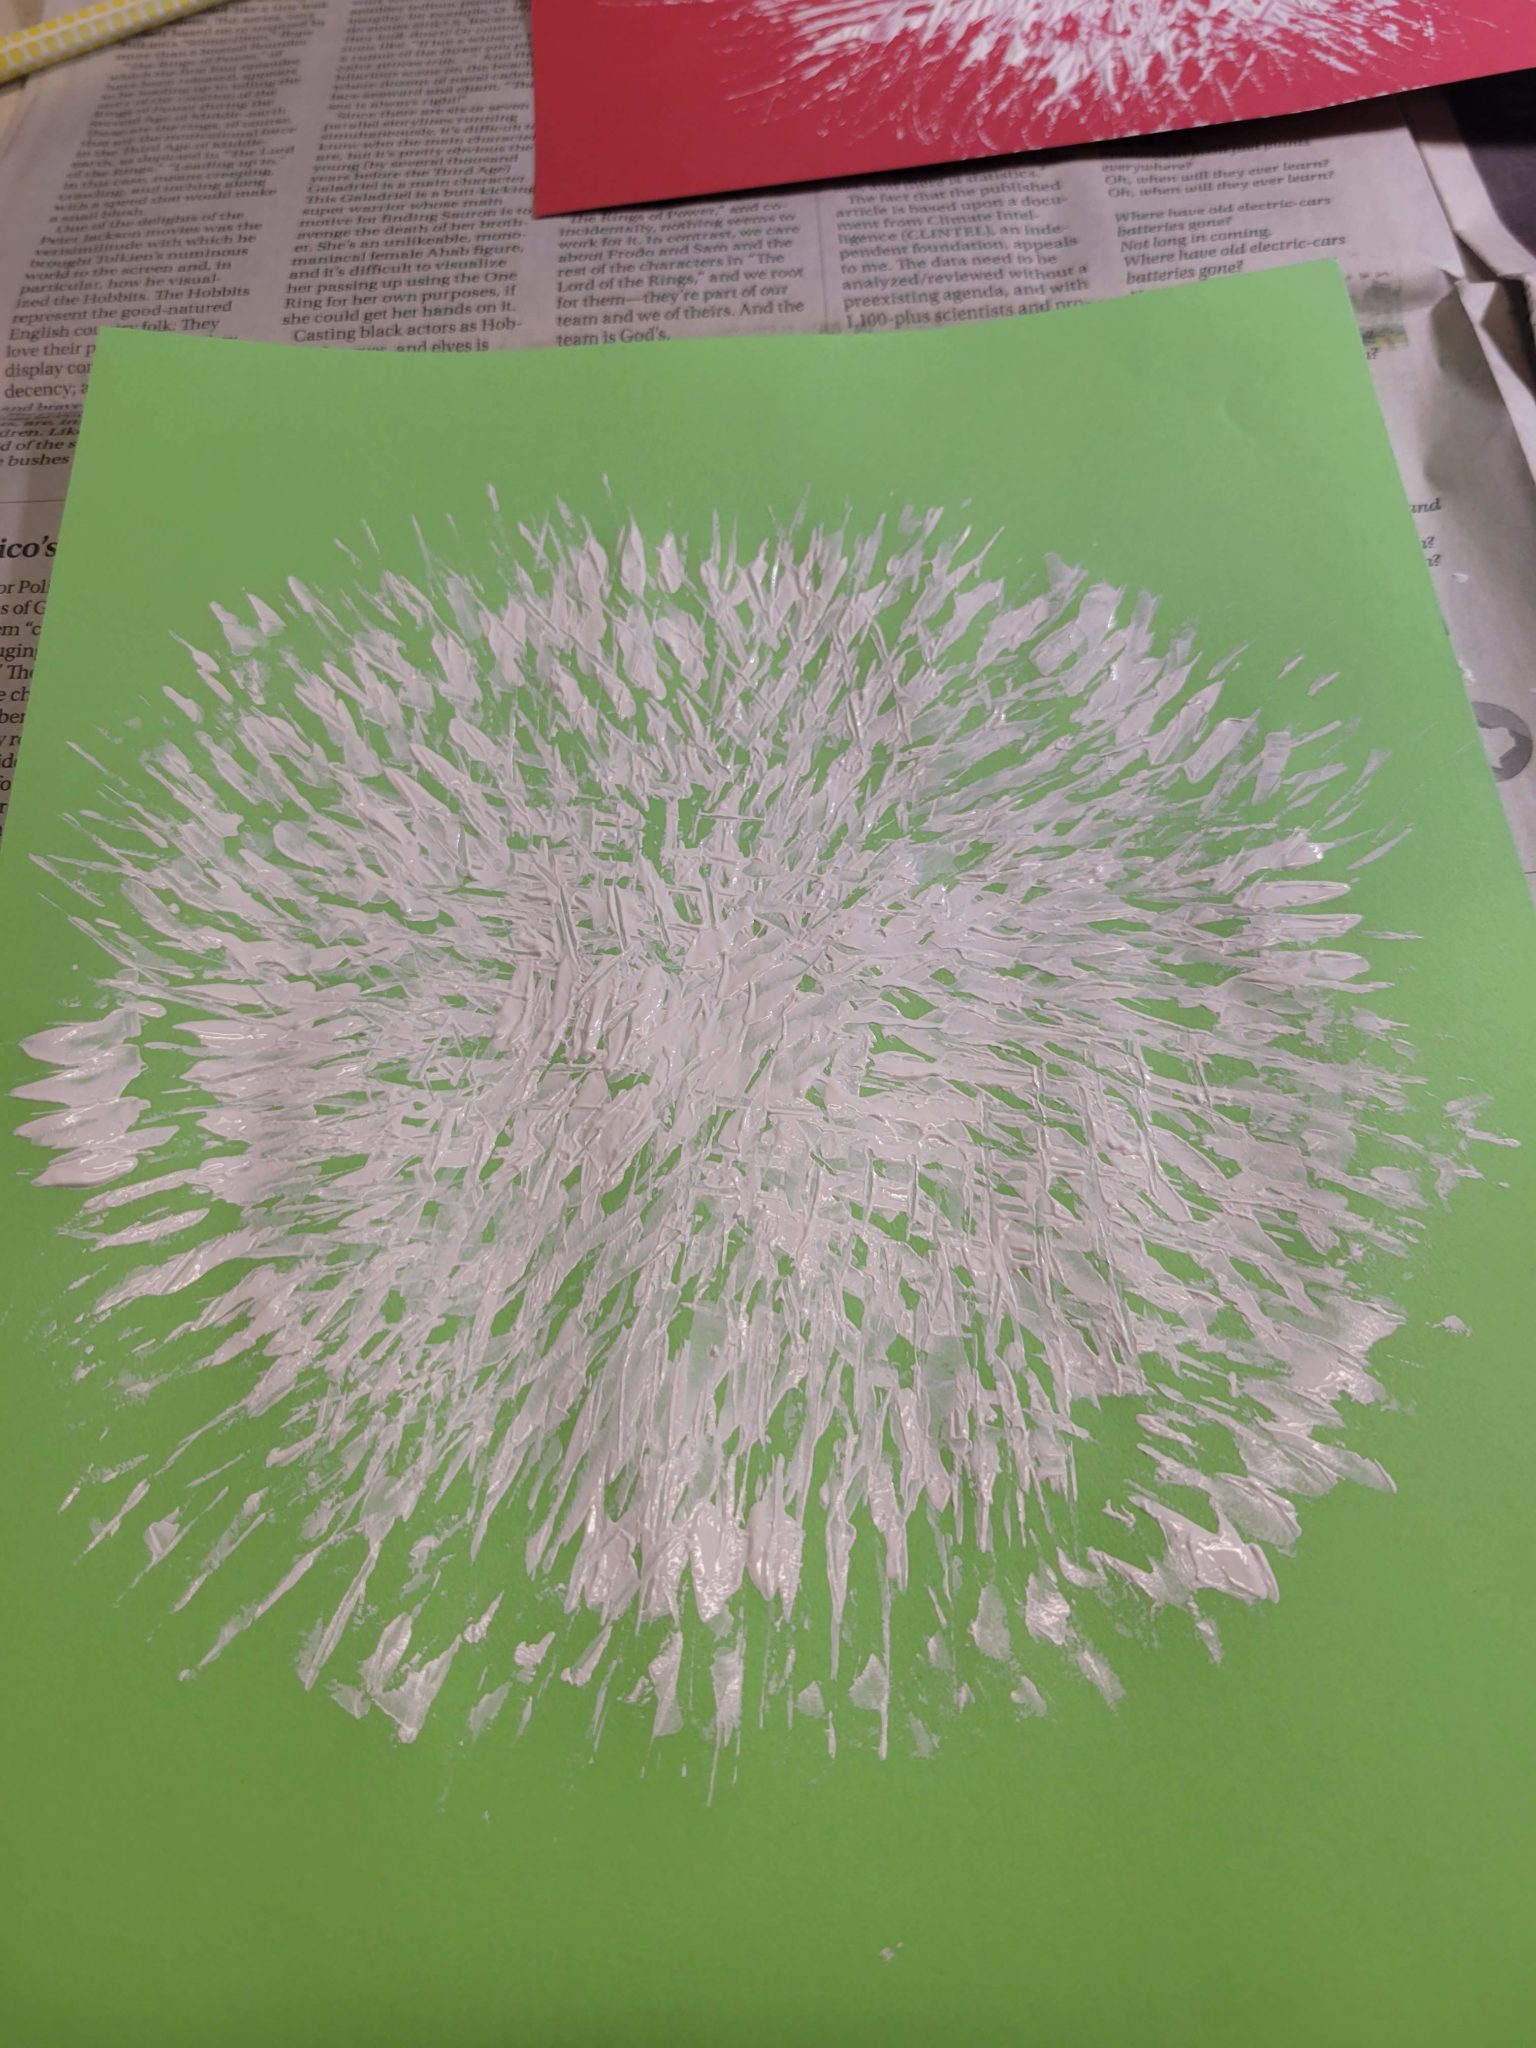
While the paint dries, cut out the facial features from your black paper. You’ll need half circles for the ears and nose and ovals for the eye details. Then cut two small white circles for the eyes. Once the paint is dry, tape or glue these pieces down.
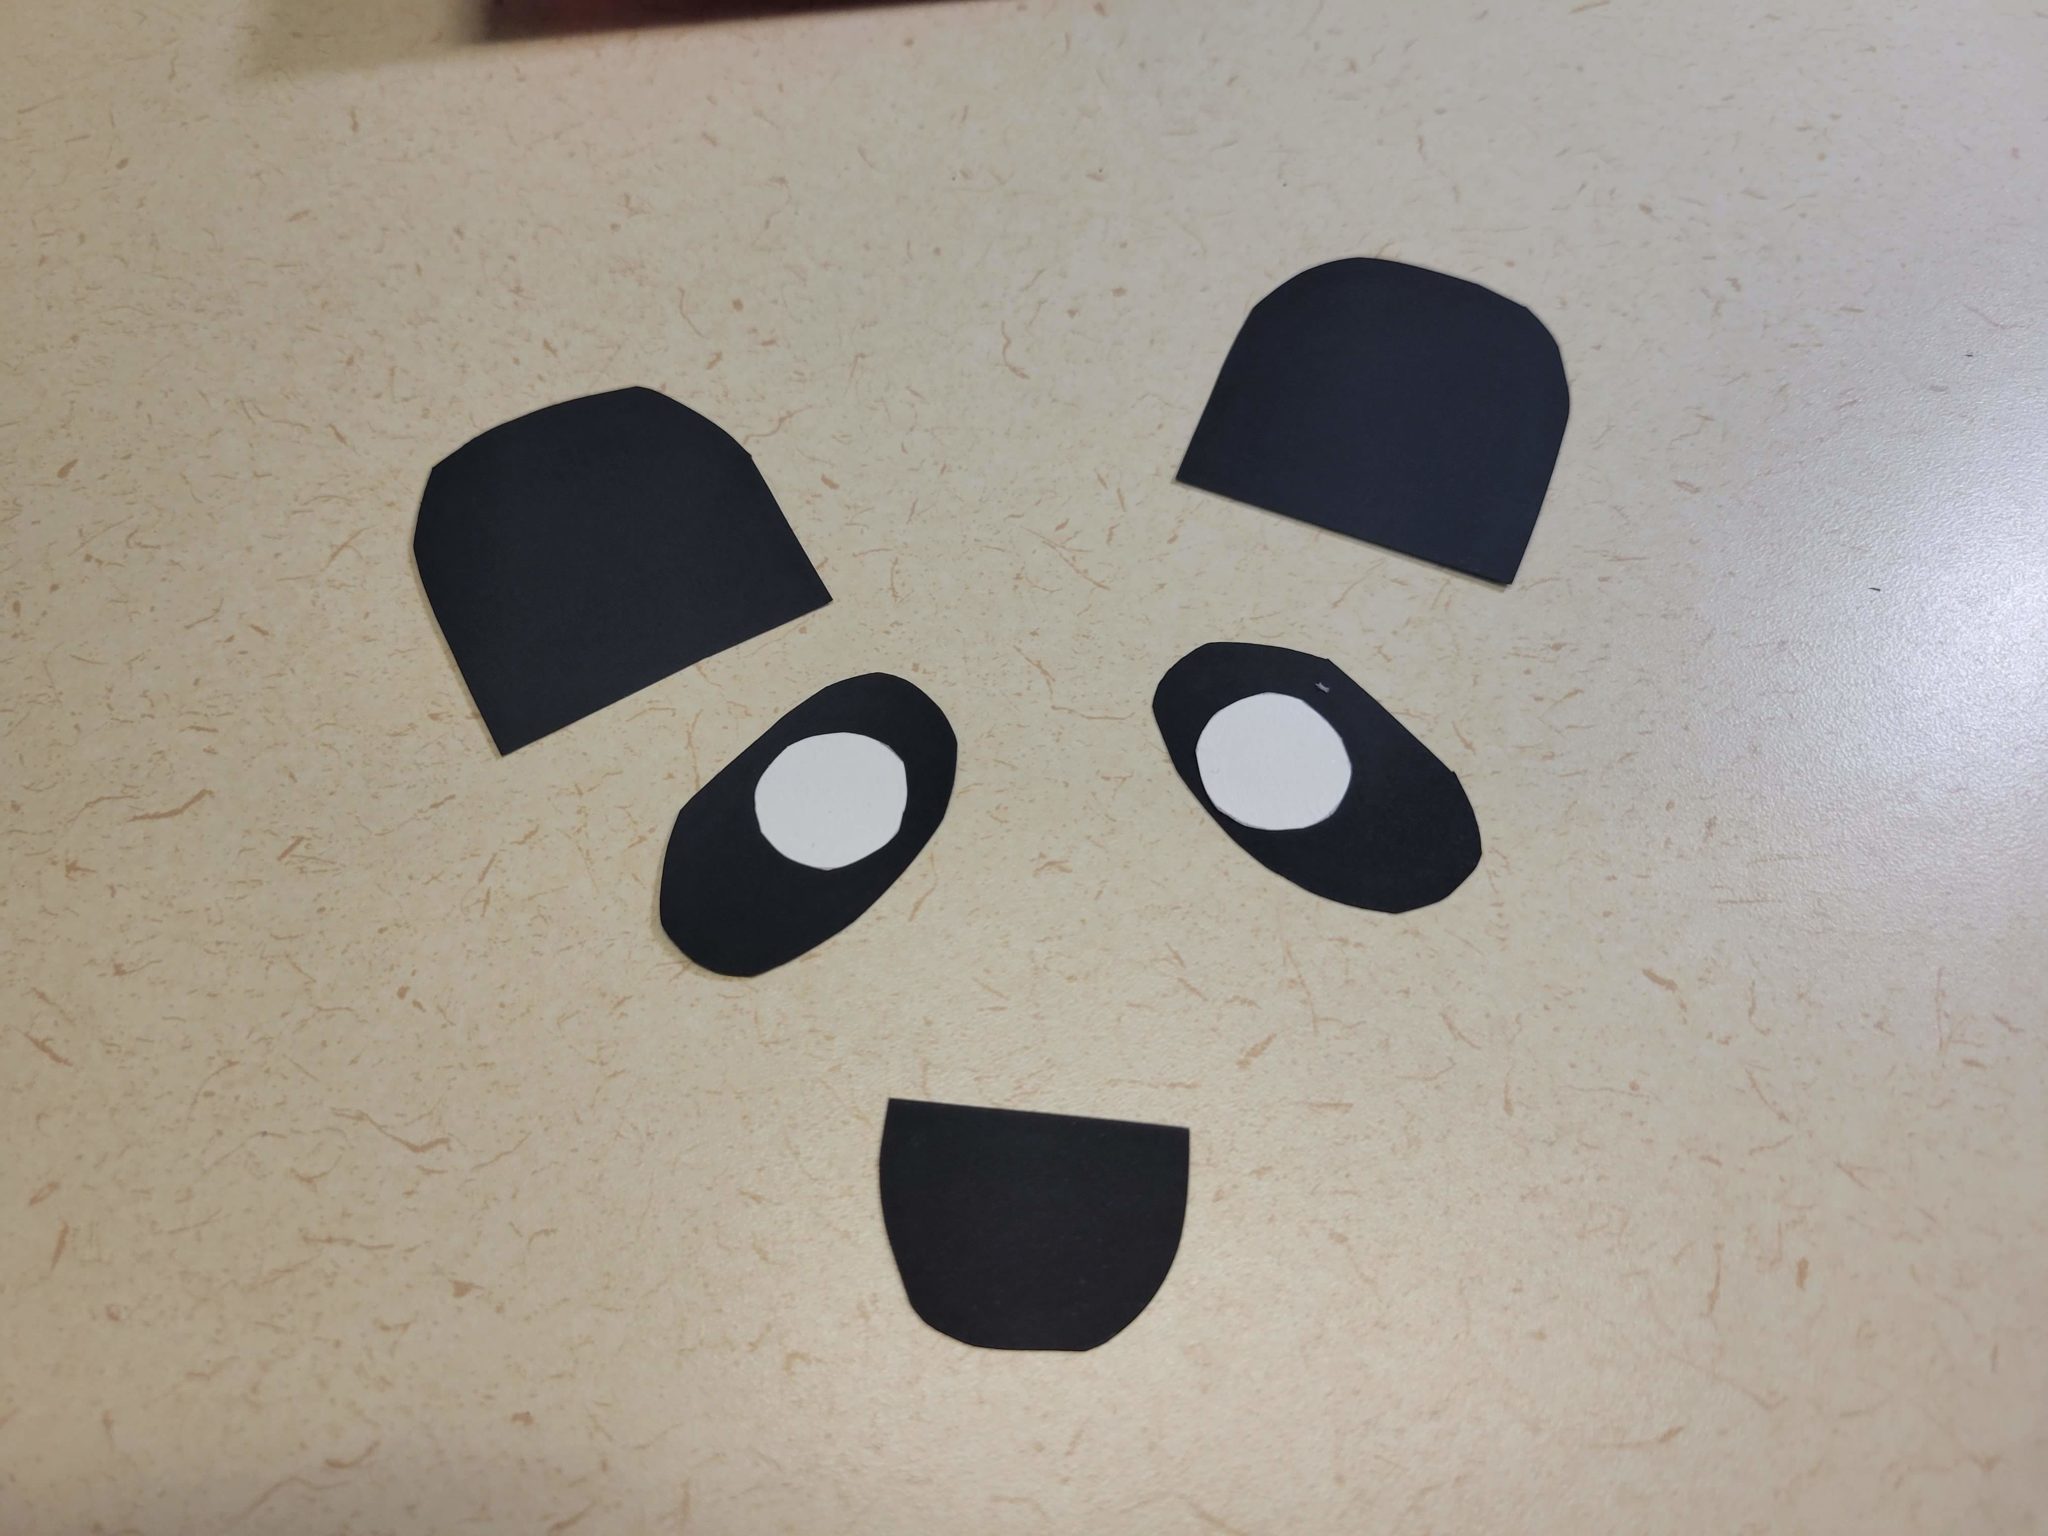
Finally, use a black marker to draw a mouth below the nose and pupils for the eyes. You can cut out the mouth from black paper, but I found it easier to draw once the paint was dry.
Your panda print is complete!
Happy Panda Day!


