The tree of life is a common image across many cultures representing growth. To celebrate spring and the sprouting of all things green, create your own tree of life!
First, select a paper plate. Any size will work. Working from the middle outward, cut out the center of the plate, leaving the raised edge. This is where your tree will grow.
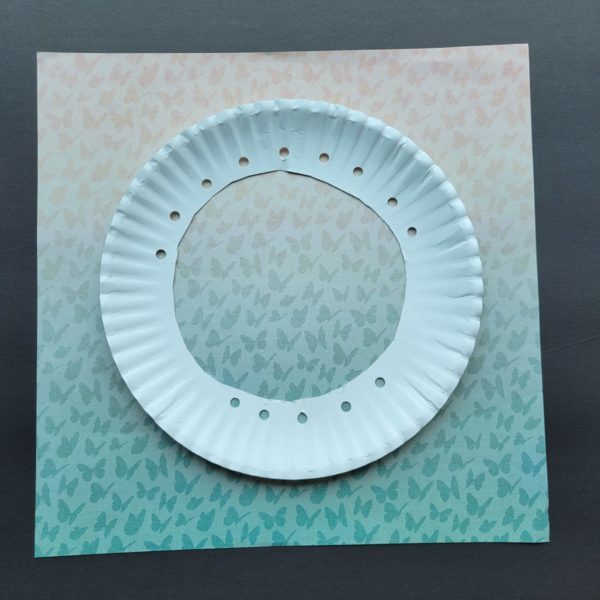
Using a hole punch, create five holes along one side of the plate, about one inch apart. This is now the bottom of the plate and where your tree will root. On the opposite side, punch nine holes, each about an inch apart for your branches.

With a dark-colored pipe cleaner (brown works well), create the trunk for your tree. Start by threading the pipe cleaner through one hole at the bottom, and one hole at the top. You can curve your pipe cleaner if you want. If there is any extra length, wrap it around the trunk for a sturdier tree.

Next, you will need four strands of yarn, each about three feet long, similar in color to your pipe cleaner. Lace one end through a bottom hole and tie a knot to the plate to secure the yarn. Slowly wrap the yarn around the pipe cleaner, working your way upwards. You do not need to cover the entire pipe cleaner. About halfway up, lace the yarn through a top hole. Then wrap it around the pipe cleaner a few times. Lace the yarn to a different top hole and tie it off. You’ve now added branches to your tree of life! Repeat this process with the three remaining pieces of yarn.
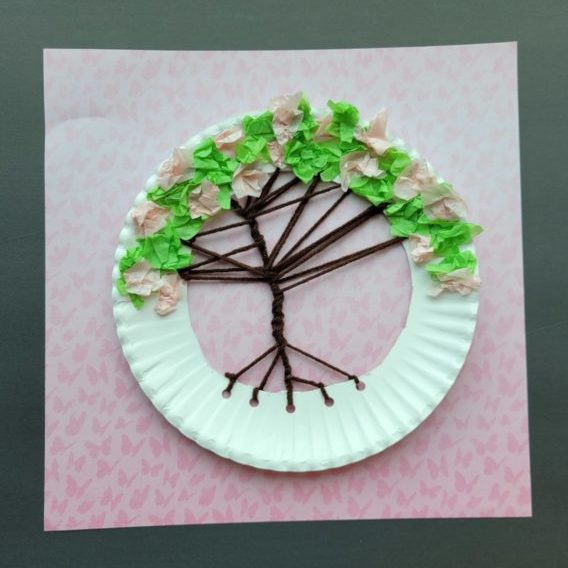
Gather some tissue paper. The colors are up to you! Tear off small pieces and crumple them up. Use a little bit of glue to attach the tissue paper pieces to the top of your paper plate. Now you have a blooming tree of life!