Carving pumpkins is an autumnal tradition for a reason. It’s fun, it’s pretty, and the tools are very sharp and not at all favorable to use around small children. However, one’s cunning can be used to enjoy pumpkin crafts without any sharp objects or carving needed!
Pumpkin Paintin’
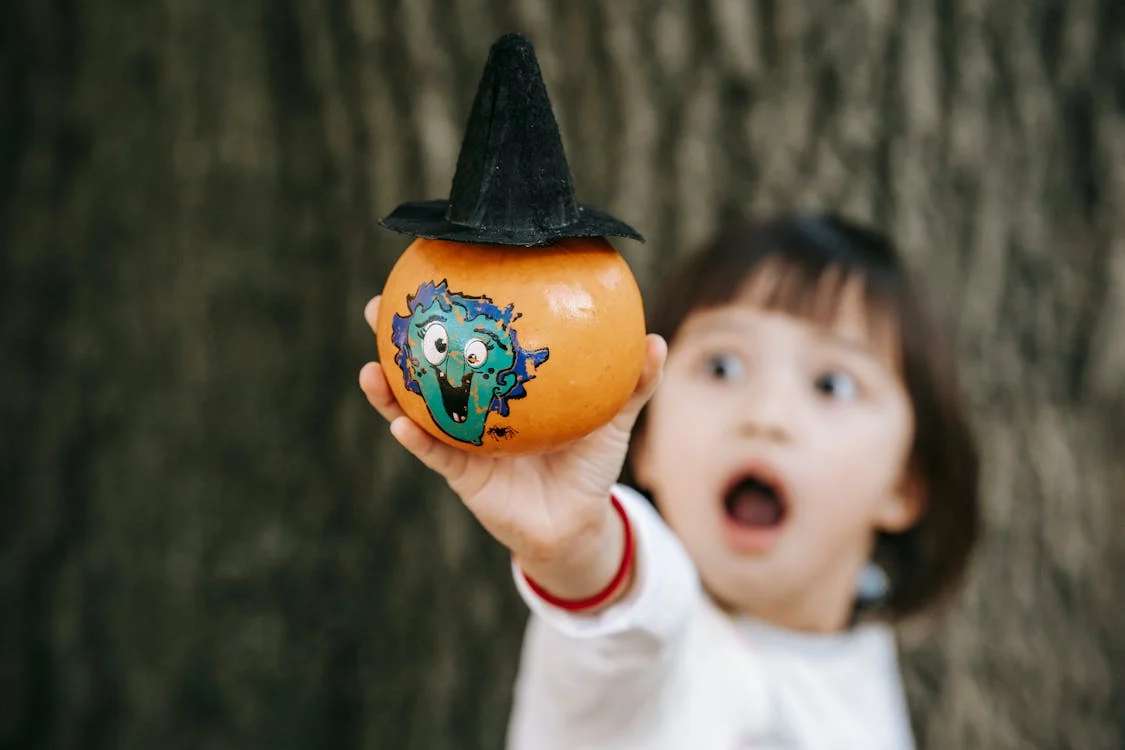
Painting and/or coloring is a great way to be creative with pumpkins without carving into them. It also allows for the use of color, which isn’t quite as available with traditional carving. There are three types of markers one might find at a craft store that can be used on pumpkins: chalk markers, oil-based markers and paint markers. One can also use Sharpies or other permanent markers, but these fumes can be irritating and even harmful for young children, so use them at your own discretion.
Oil-based paints and markers have a vibrant and often glossy finish that is very pleasing to the eye. Paint markers, on the other hand, usually have a matte finish to them. Chalk markers, while they tend to be a lot easier to use, especially for children, will wash off in water — it’s advisable to seal them with a clear varnish (this article recommends Rustoleum Universal Clear)! The spraying of the varnish will have to be done by an adult, so if that throws a wrench into your plans, I sincerely recommend one of the other marker styles.
Of course, you can also use acrylic paints! These can be a BLAST to use with kiddos, but they can also be very messy. Whatever works best for your kiddos and you is the best choice to make!
Step One: CHOOSE A PUMPKIN! This is sometimes the most fun part. You can pick a big one, a small one, one from a patch, one from the store, an orange one, a green one…the world is your pumpkin patch when it comes to picking a gourd to decorate!
Step Two: Pick a design. Or not! Some people like to make art by making things up as they go along, and that works well with this project. Some designs you might enjoy are a spooky pumpkin face (very classic!), a classic Halloween monster like a witch or a ghost, or a happy autumnal scene with some cute cats and scarecrows. You don’t even have to make it Halloween or autumn-related — art’s fun like that.
Step Three: Set up your art area. This might be the kitchen table or the backyard — I highly recommend using some sort of tarp or old newspapers underneath your pumpkins so as to not damage furniture, floors, flora or fauna.
Step Four: Go wild! Well, not too wild. Paint is not edible. But do let your imaginations run wild, and encourage your kiddos to do the same. Remember that art is only as good as the fun you have making it!
If you want to get really creative, go for an autumn walk or hike and collect some fallen leaves. These can be stuck onto pumpkins while their paint is still wet to create a seasonal 3D effect!
Pumpkin Seed Roastin’
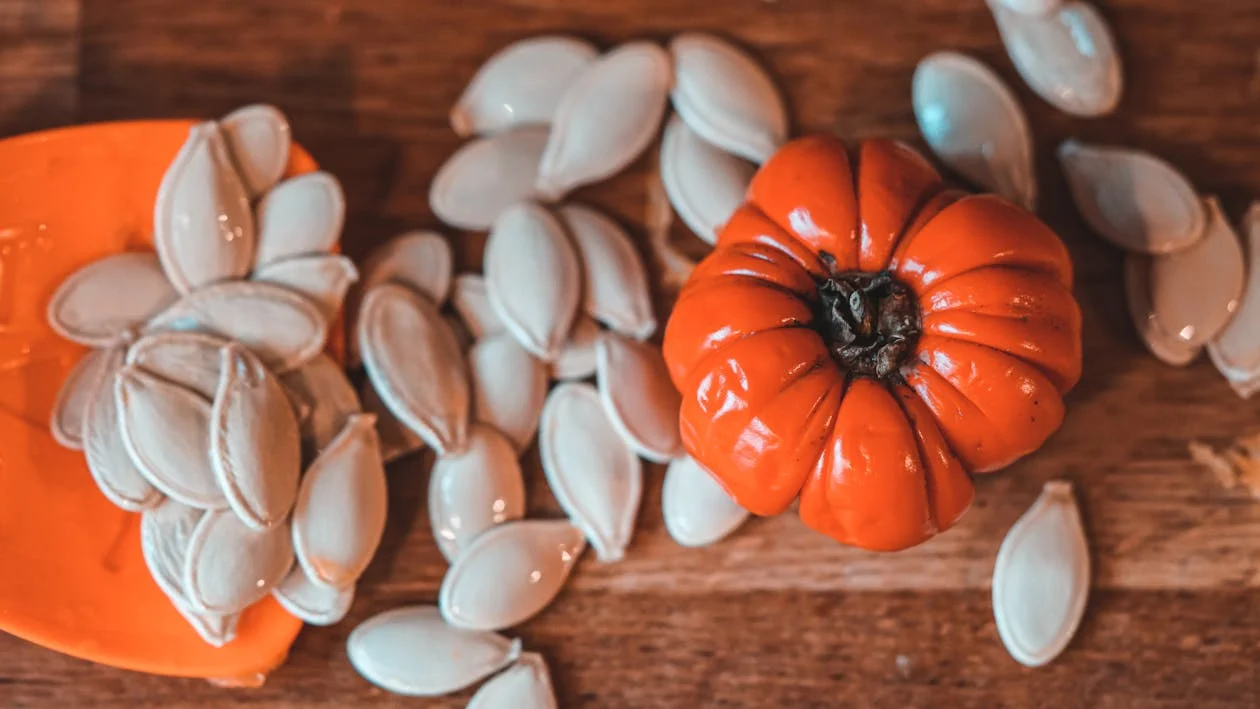
If you know me, you know this is my favorite part of pumpkins and carving them. Roasting pumpkin seeds is not too difficult — kids ten and up may be able to help with the washing and drying of the seeds. This and the following pumpkin craft do require using sharp tools, even if you’re only cutting the stem off the top to have access to the inside.
To roast pumpkin seeds:
- Scoop those babies out of there. Use whatever spoon or tool you’re using to scoop the flesh out of your pumpkin. Dump the seed-flesh-pulp mix into a colander.
- Rinse the seeds! Try and get all the pulp and flesh off, but it’s okay if small tidbits remain.
- Dry the seeds by laying them flat on a clean fabric or paper towel. This allows them to crisp way better in the oven–moist seeds will release steam, elongating the cooking time.
- Finally, you can add your spices! You can go with a sweet cinnamon and sugar combo, a savory paprika and salt mix, a spicy pepper blend, or even add za’atar to your pumpkin seeds! The sky is the limit here, fellow roasters.
- Roast ’em! 12-15 minutes at 350 F should do the trick. Look for a golden brown color and sniff for a nutty aroma.
Now, enjoy. This whole process can take an hour or two, but the results are truly worth it. Have fun with your seasonal snacks!
I hope these activities are helpful and enjoyable, whether you adopt them as lifelong traditions or test ’em out just this year. May your holidays be spooky, sweet, and filled with cheer and light!